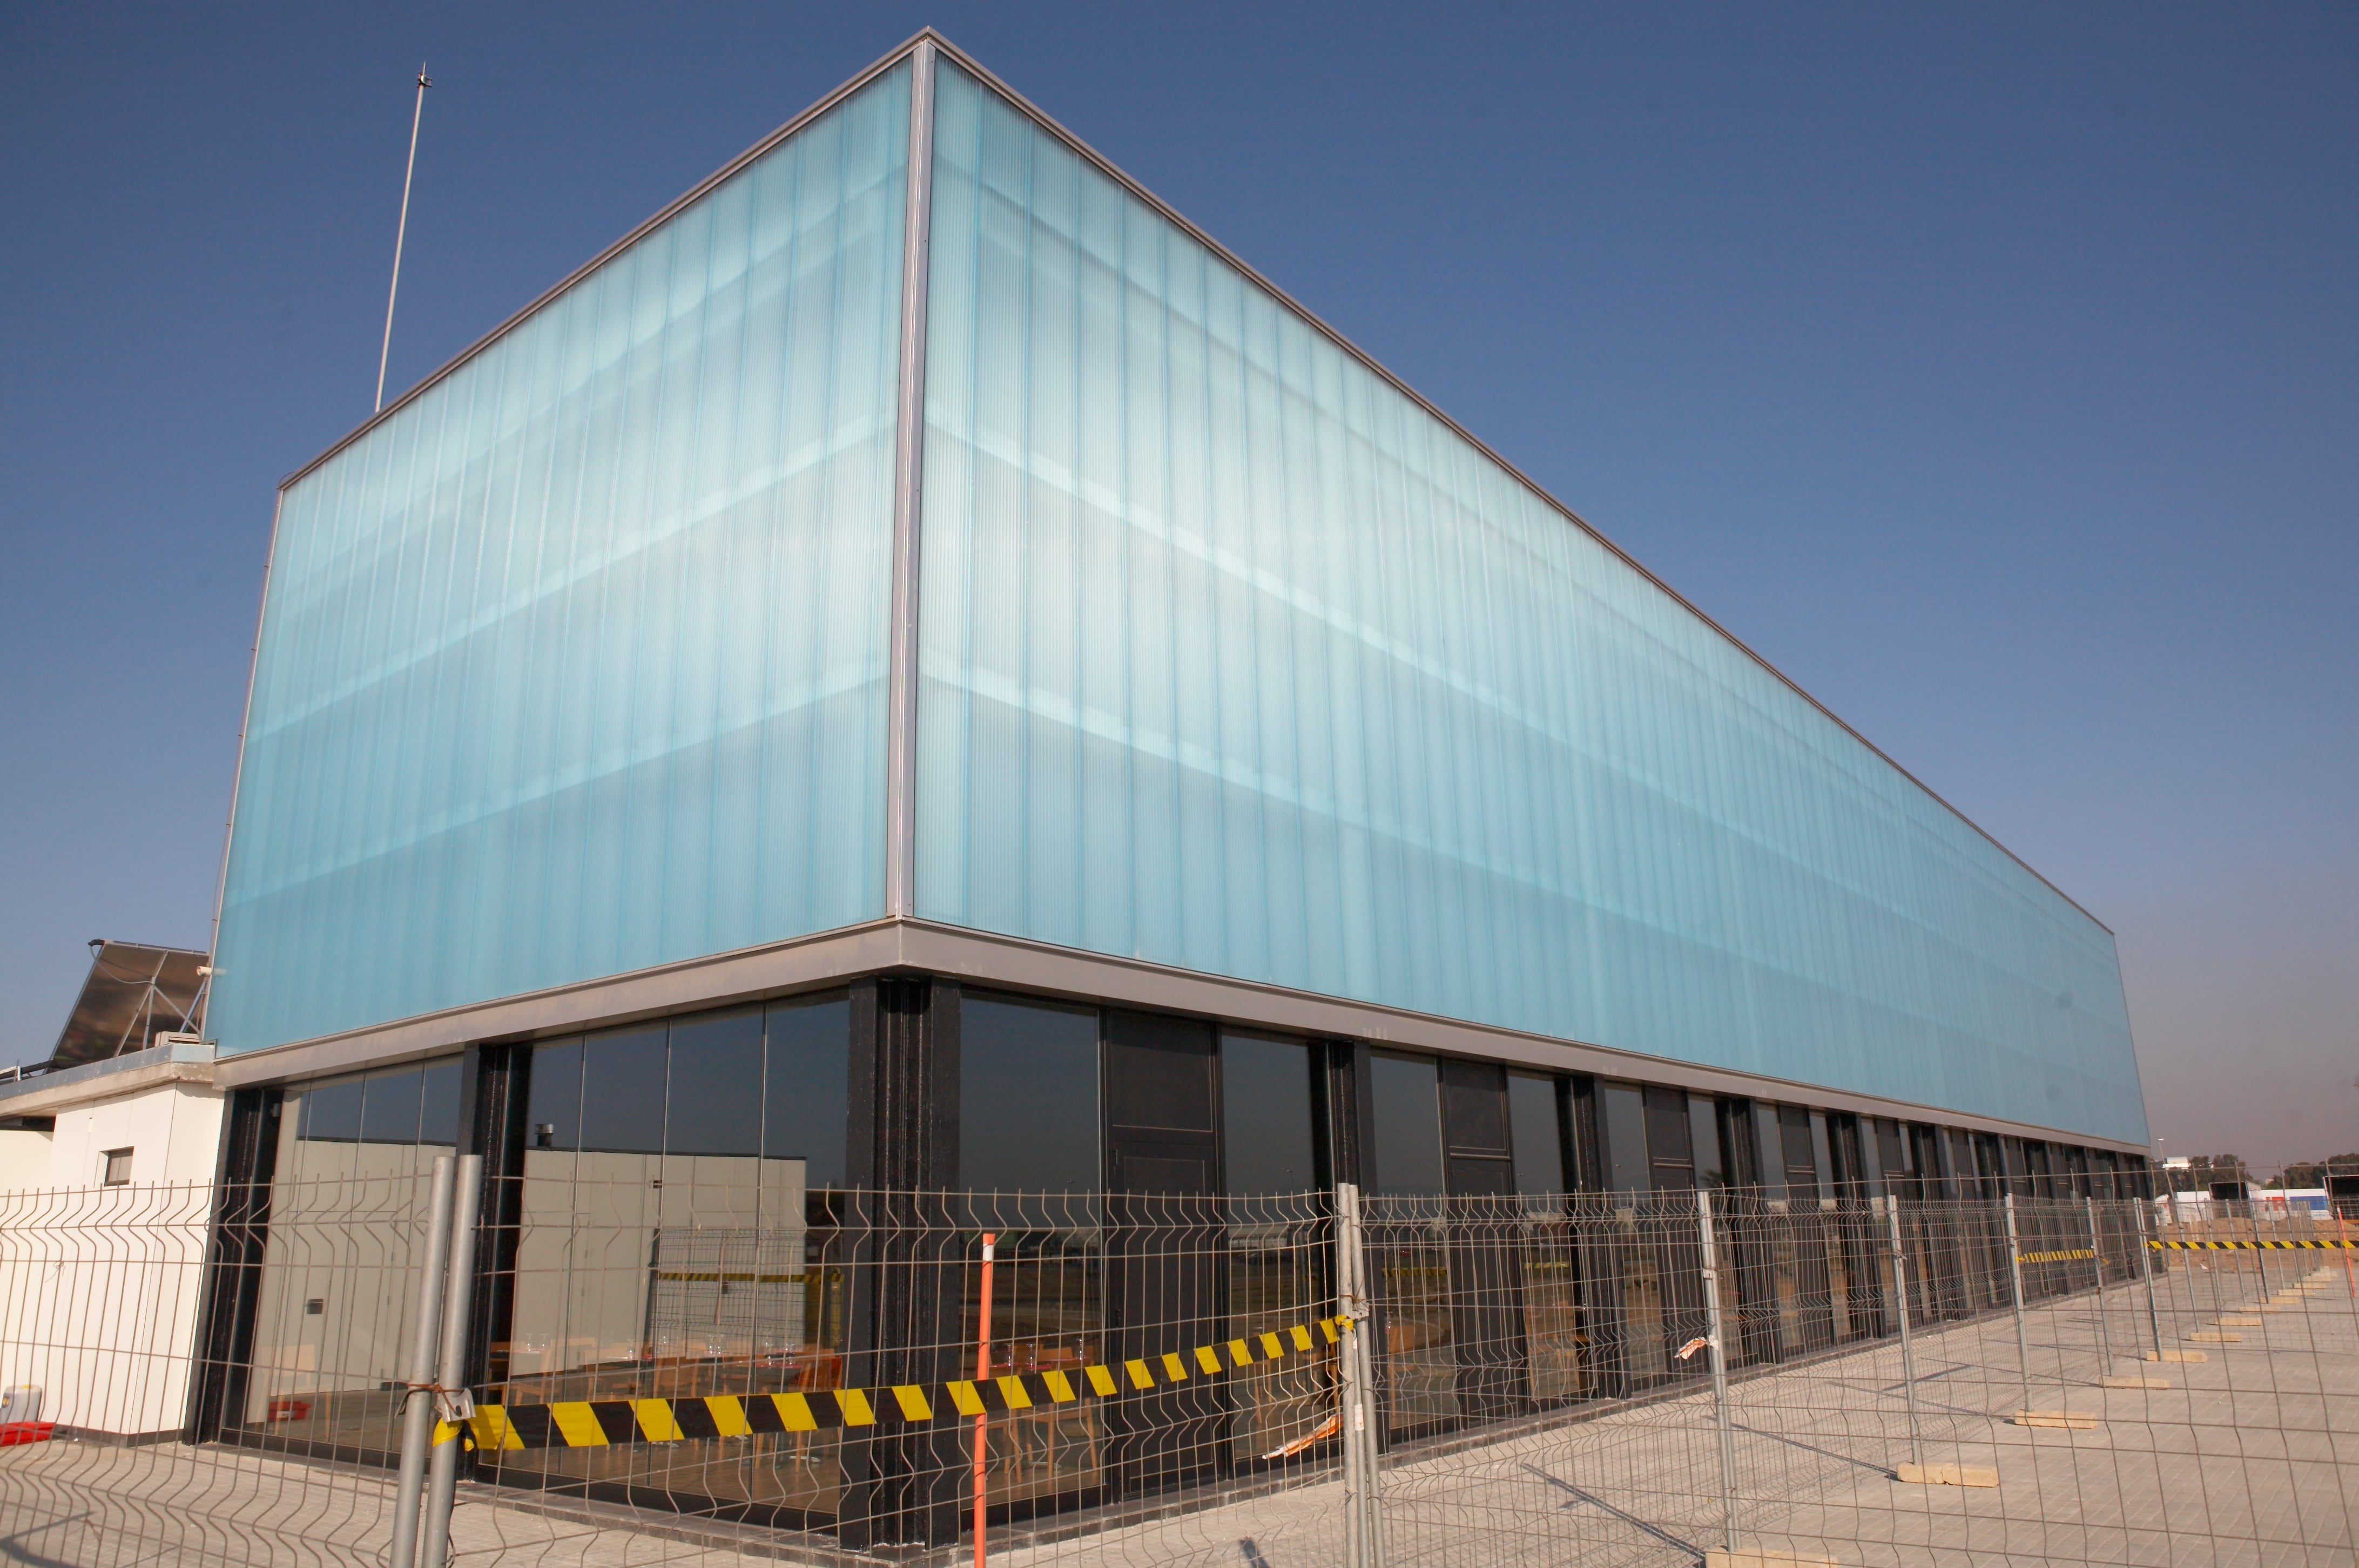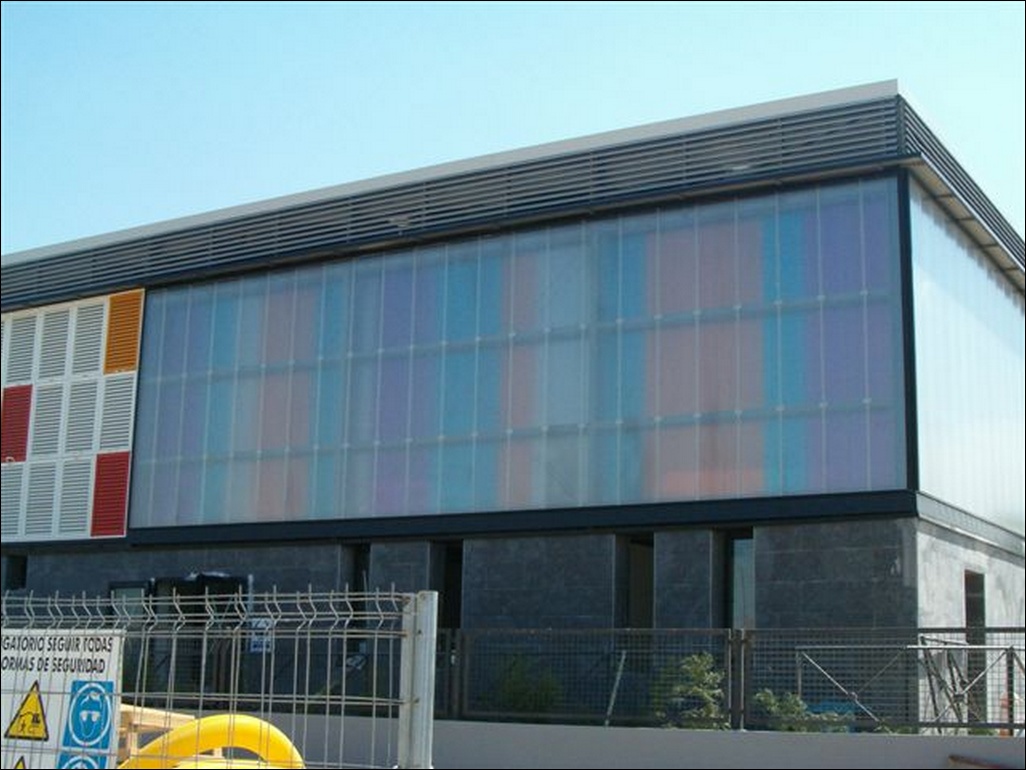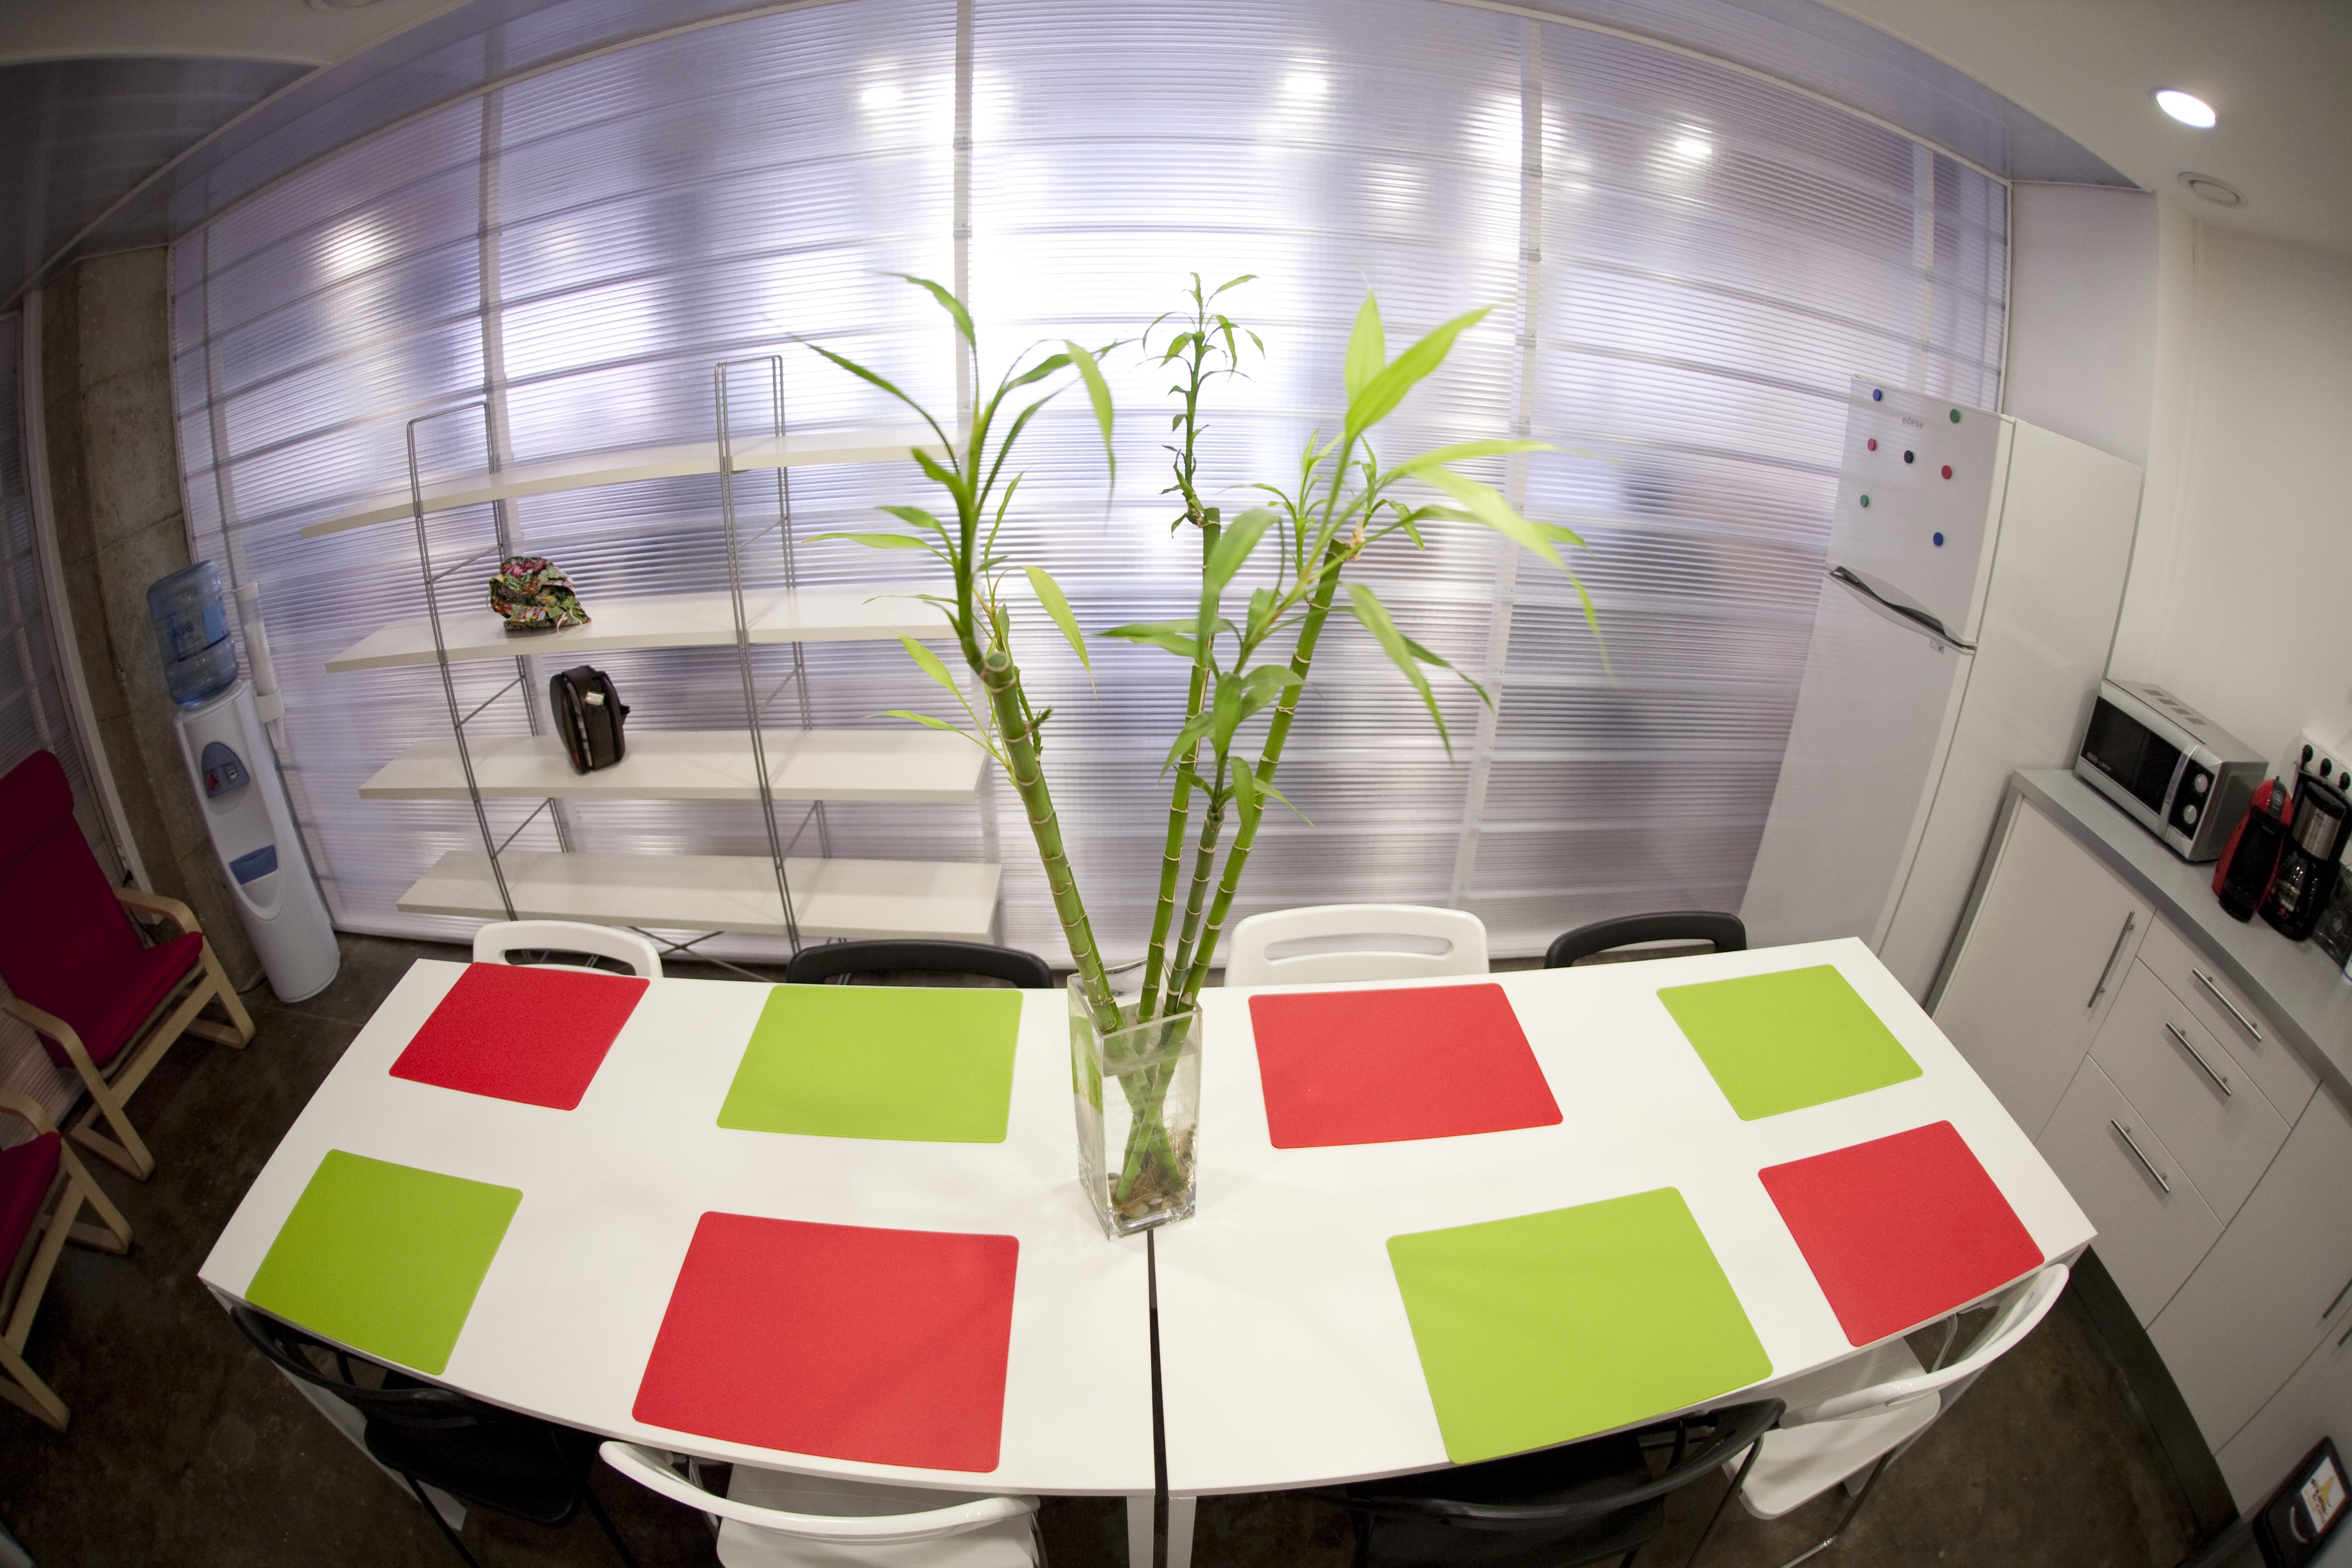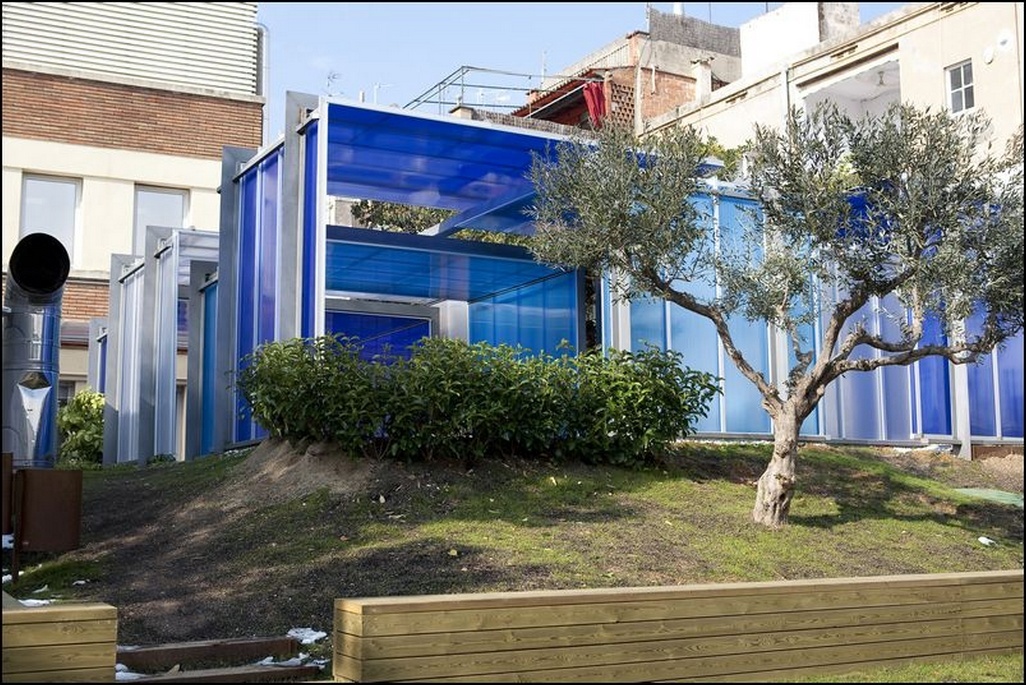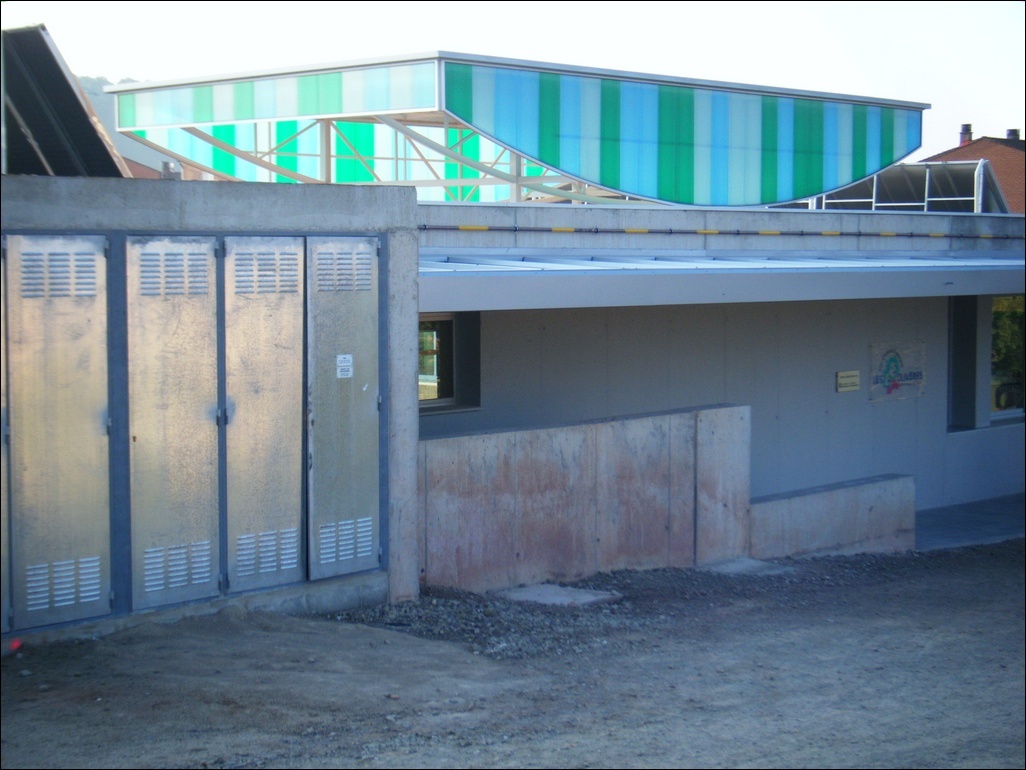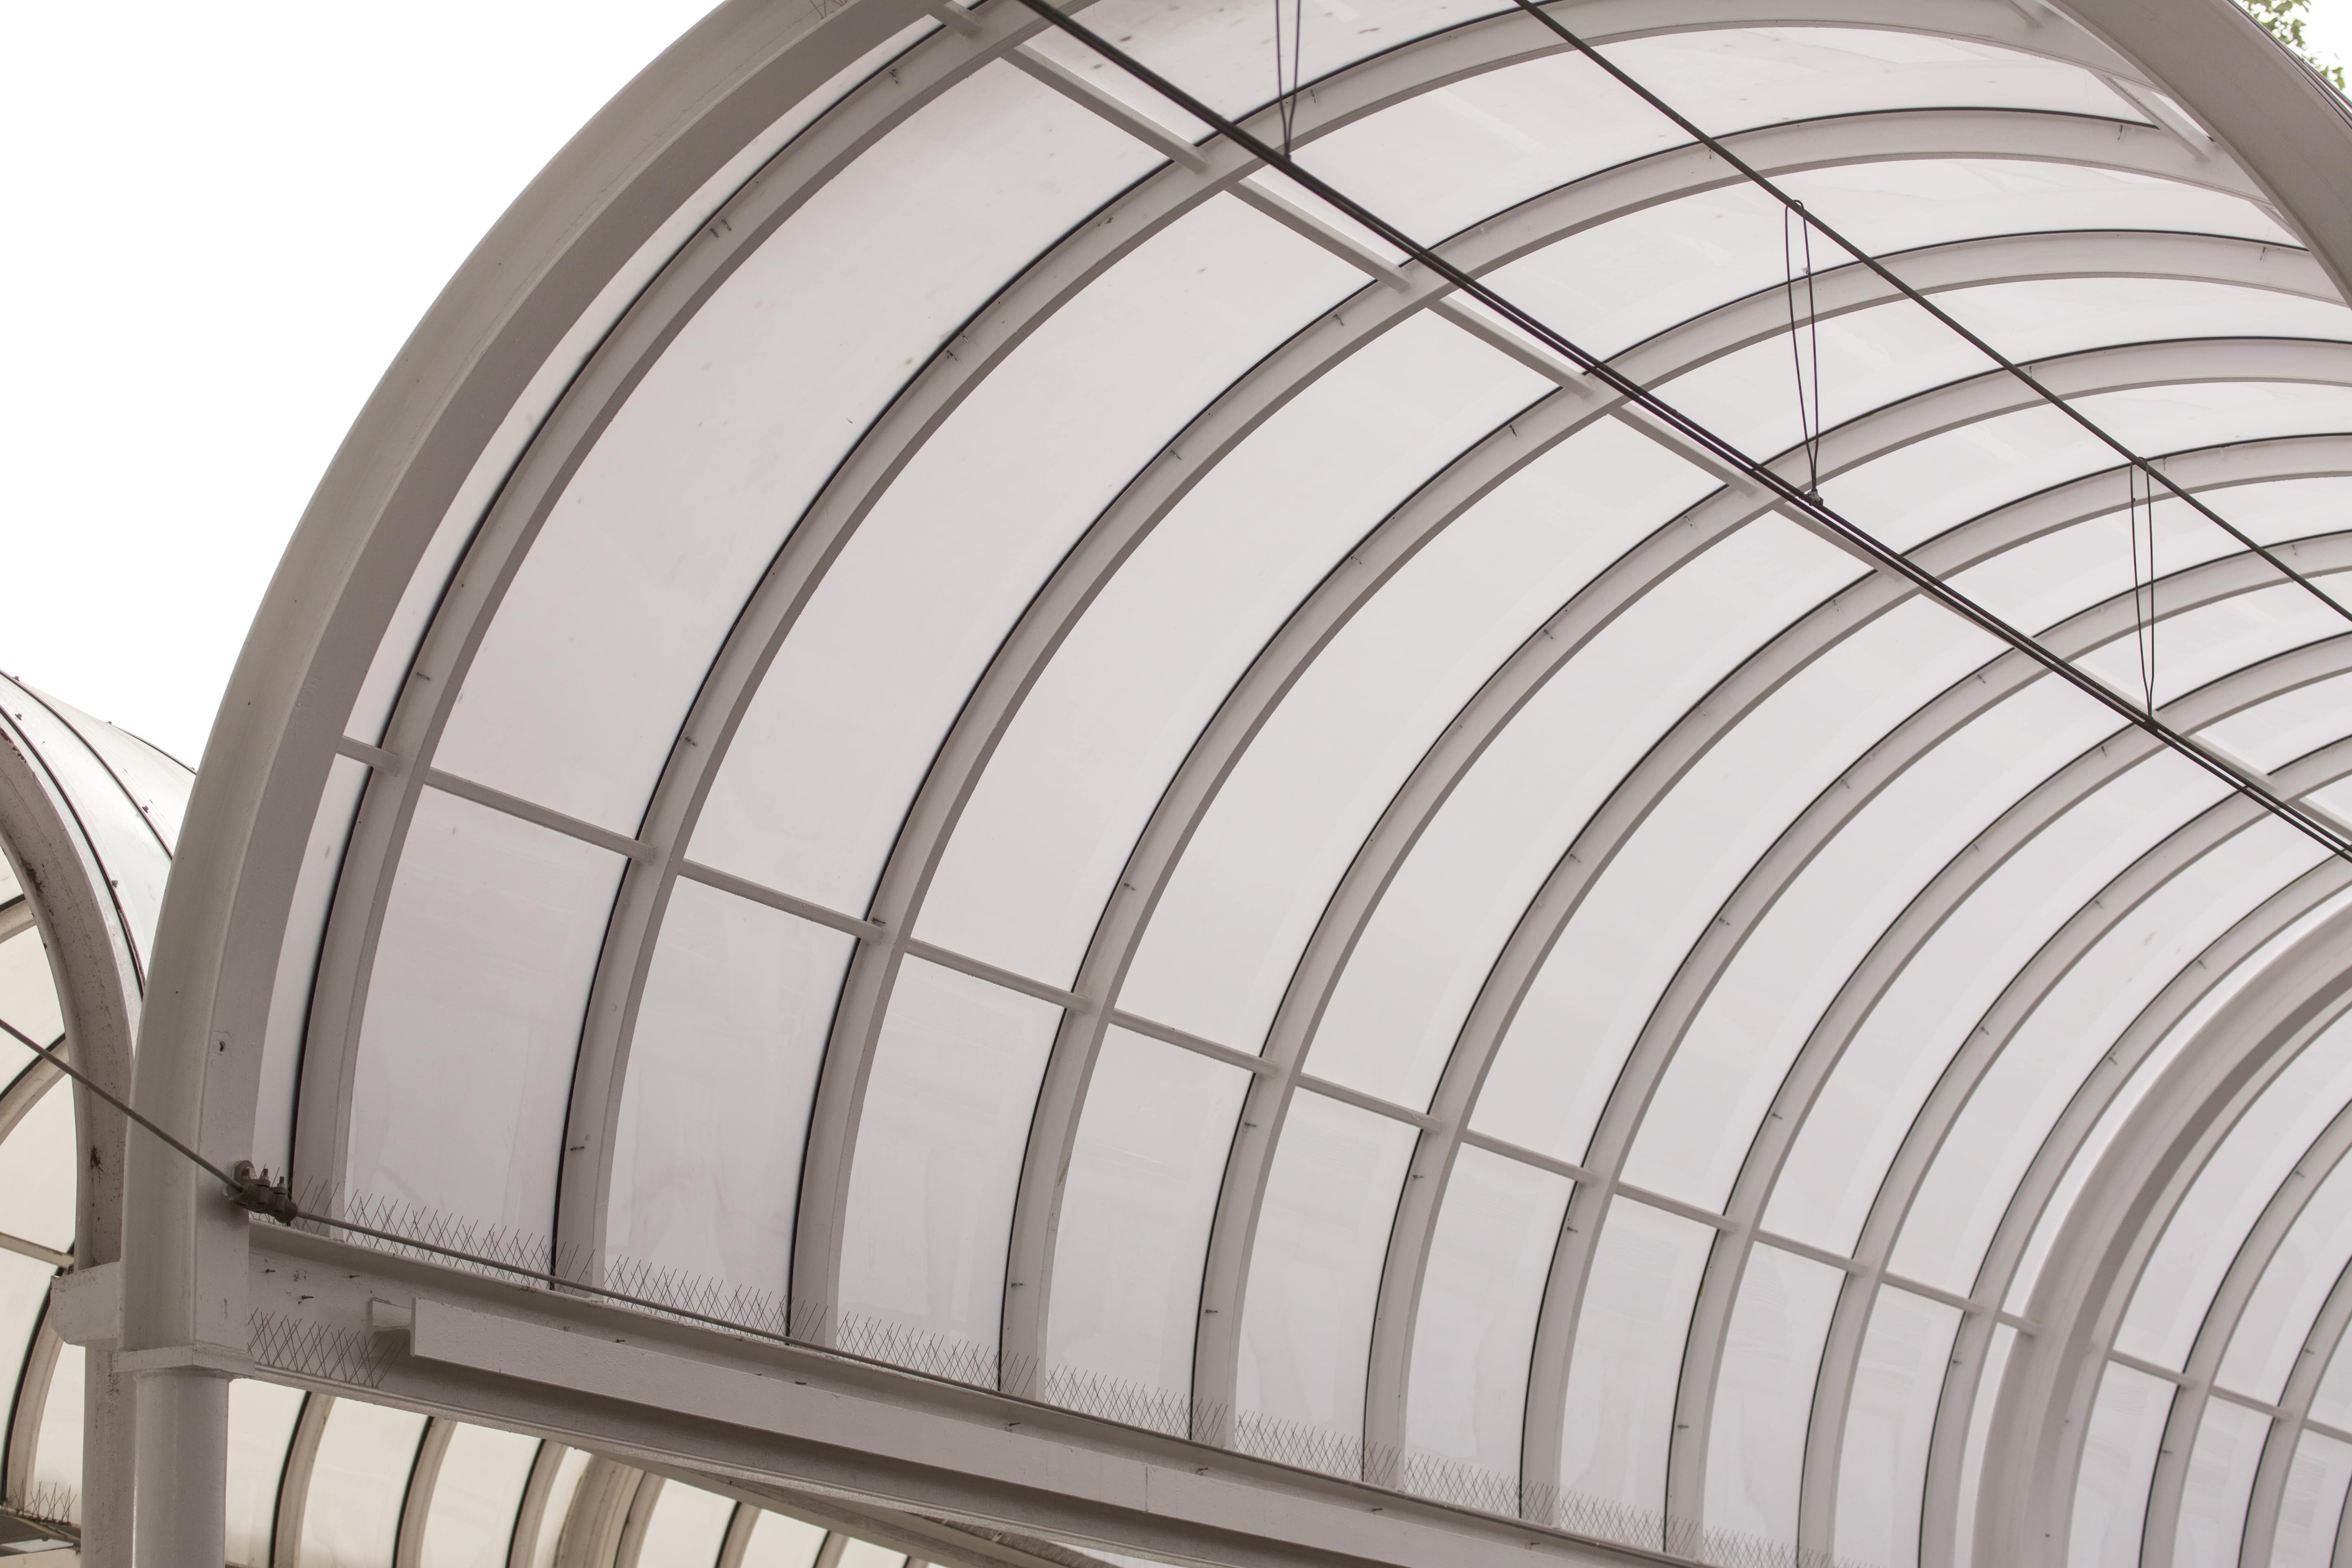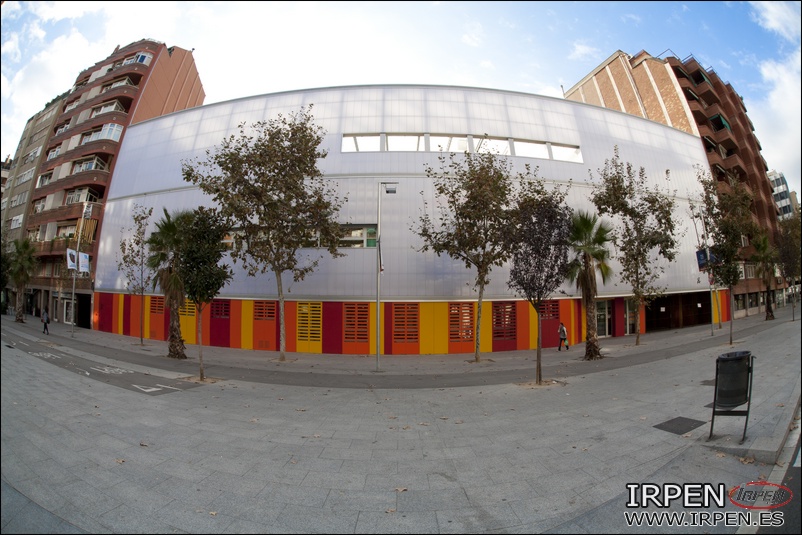


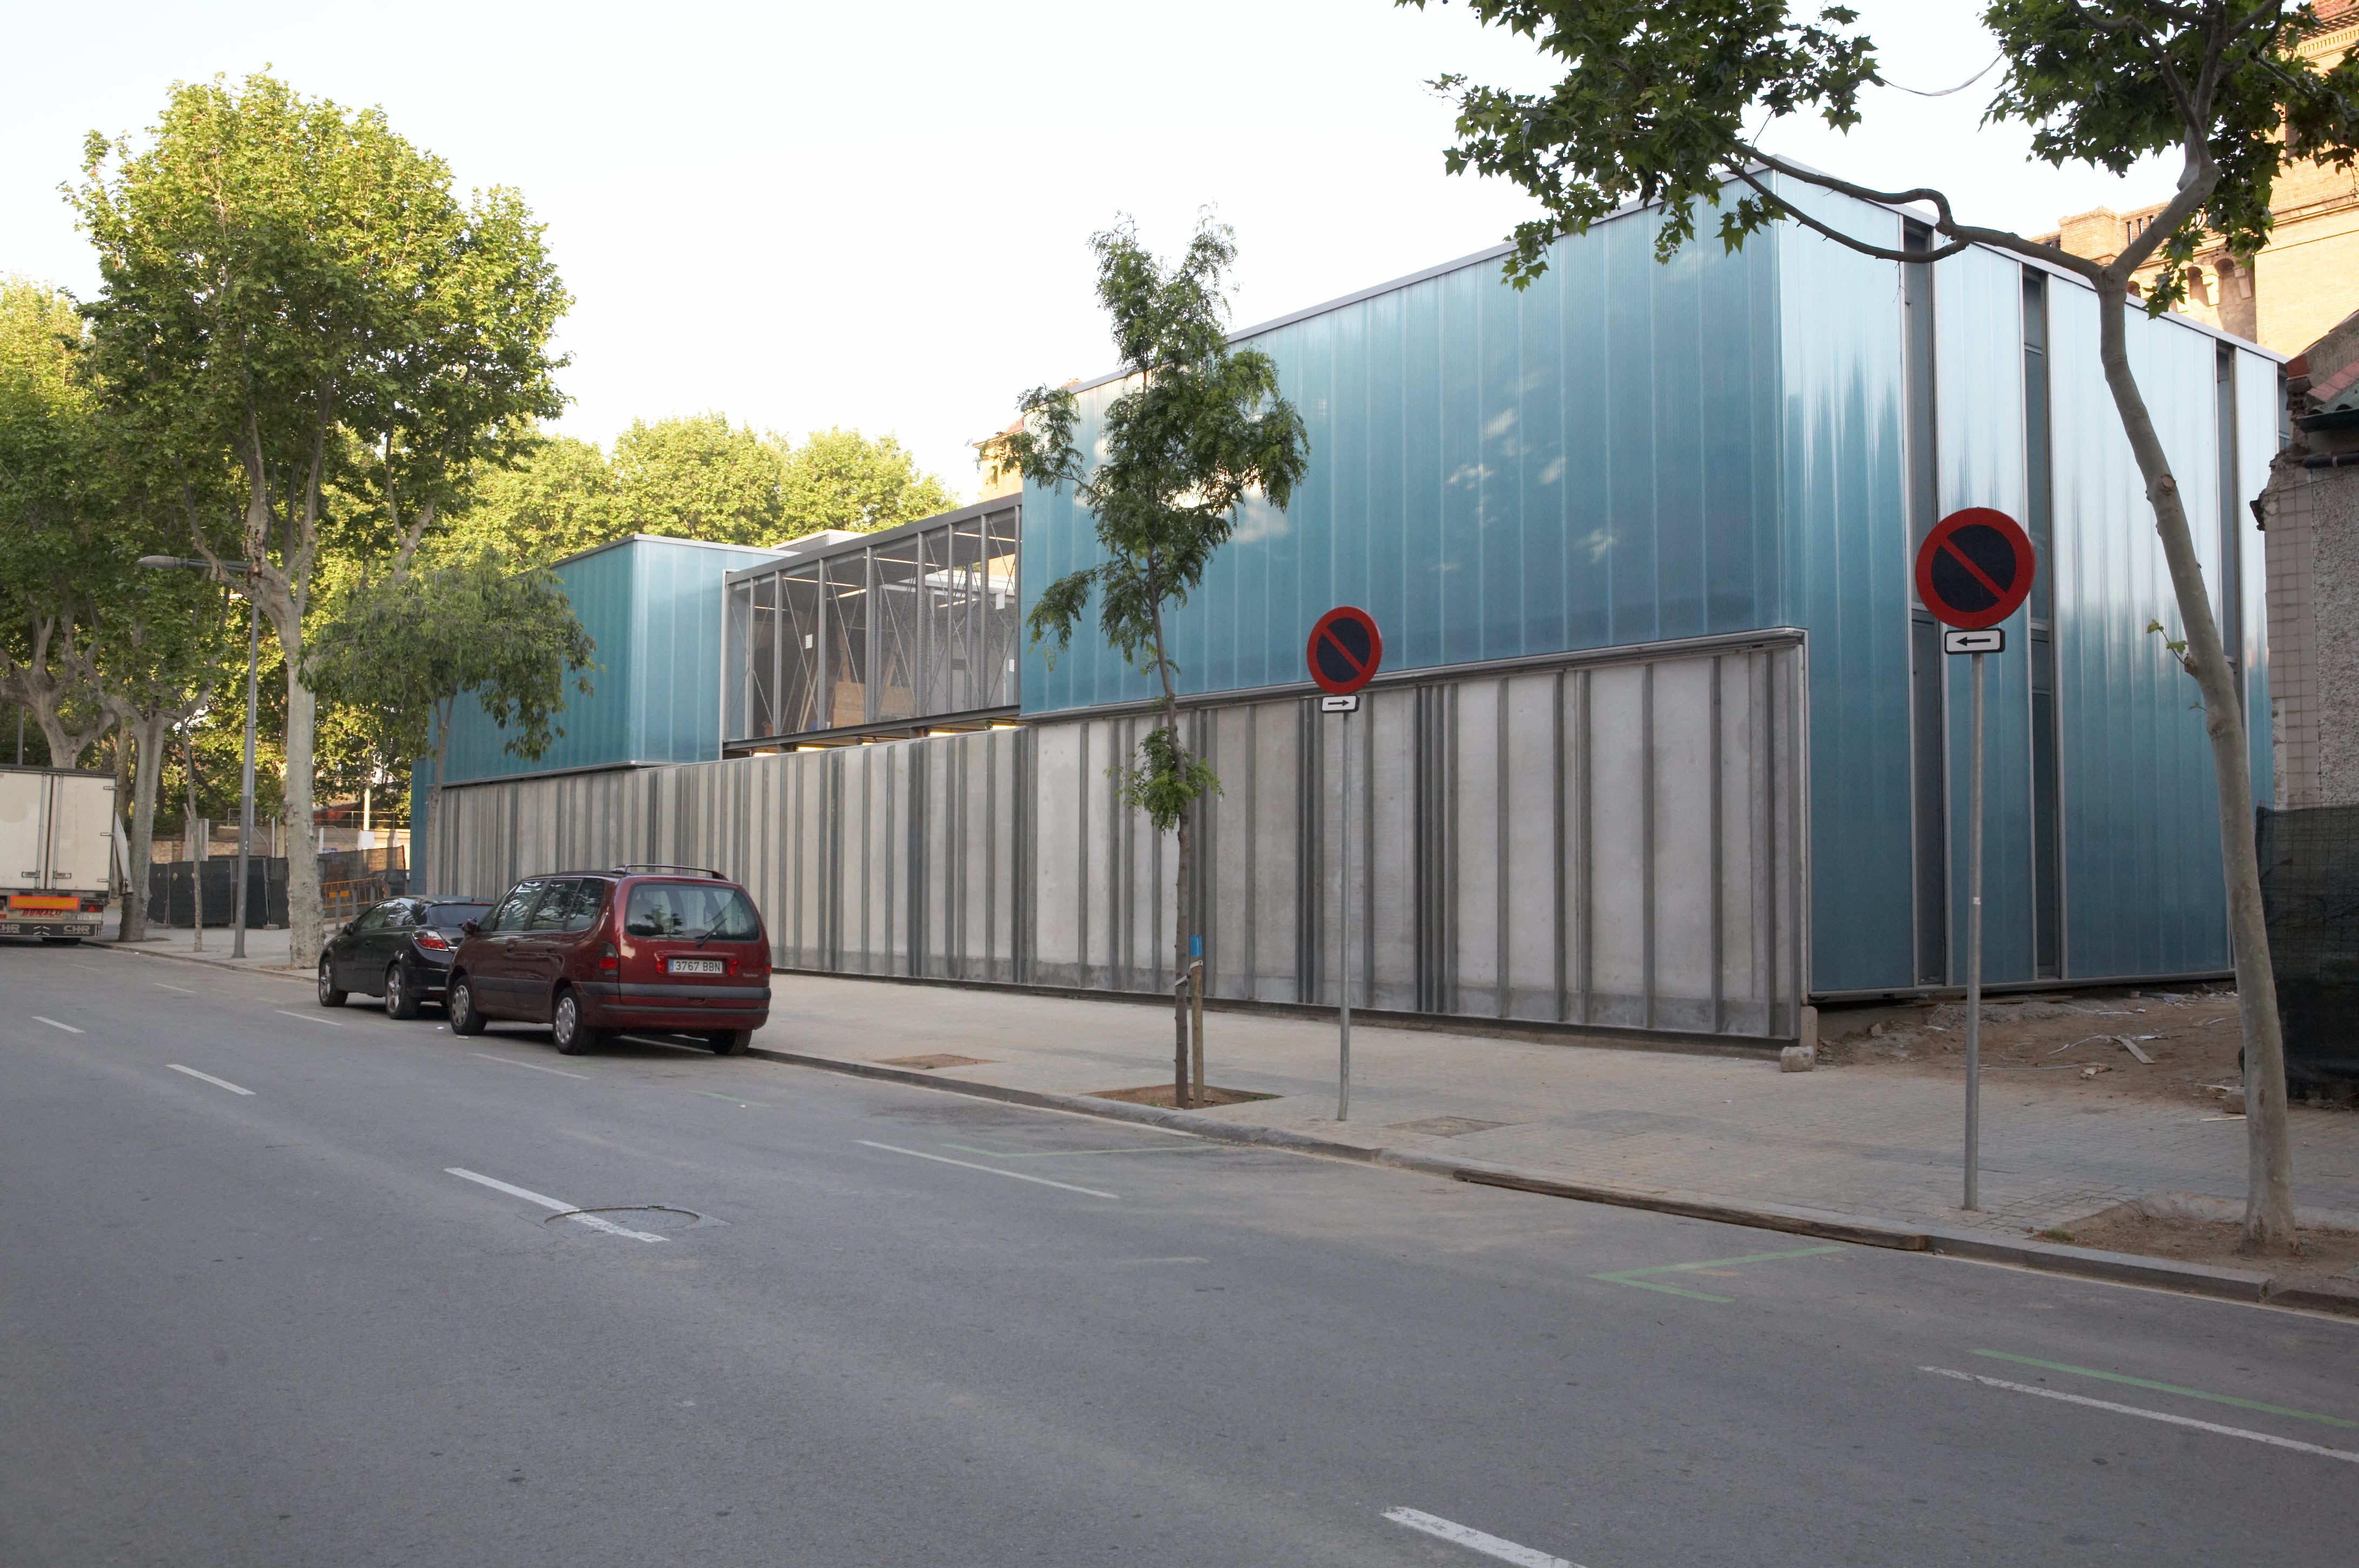
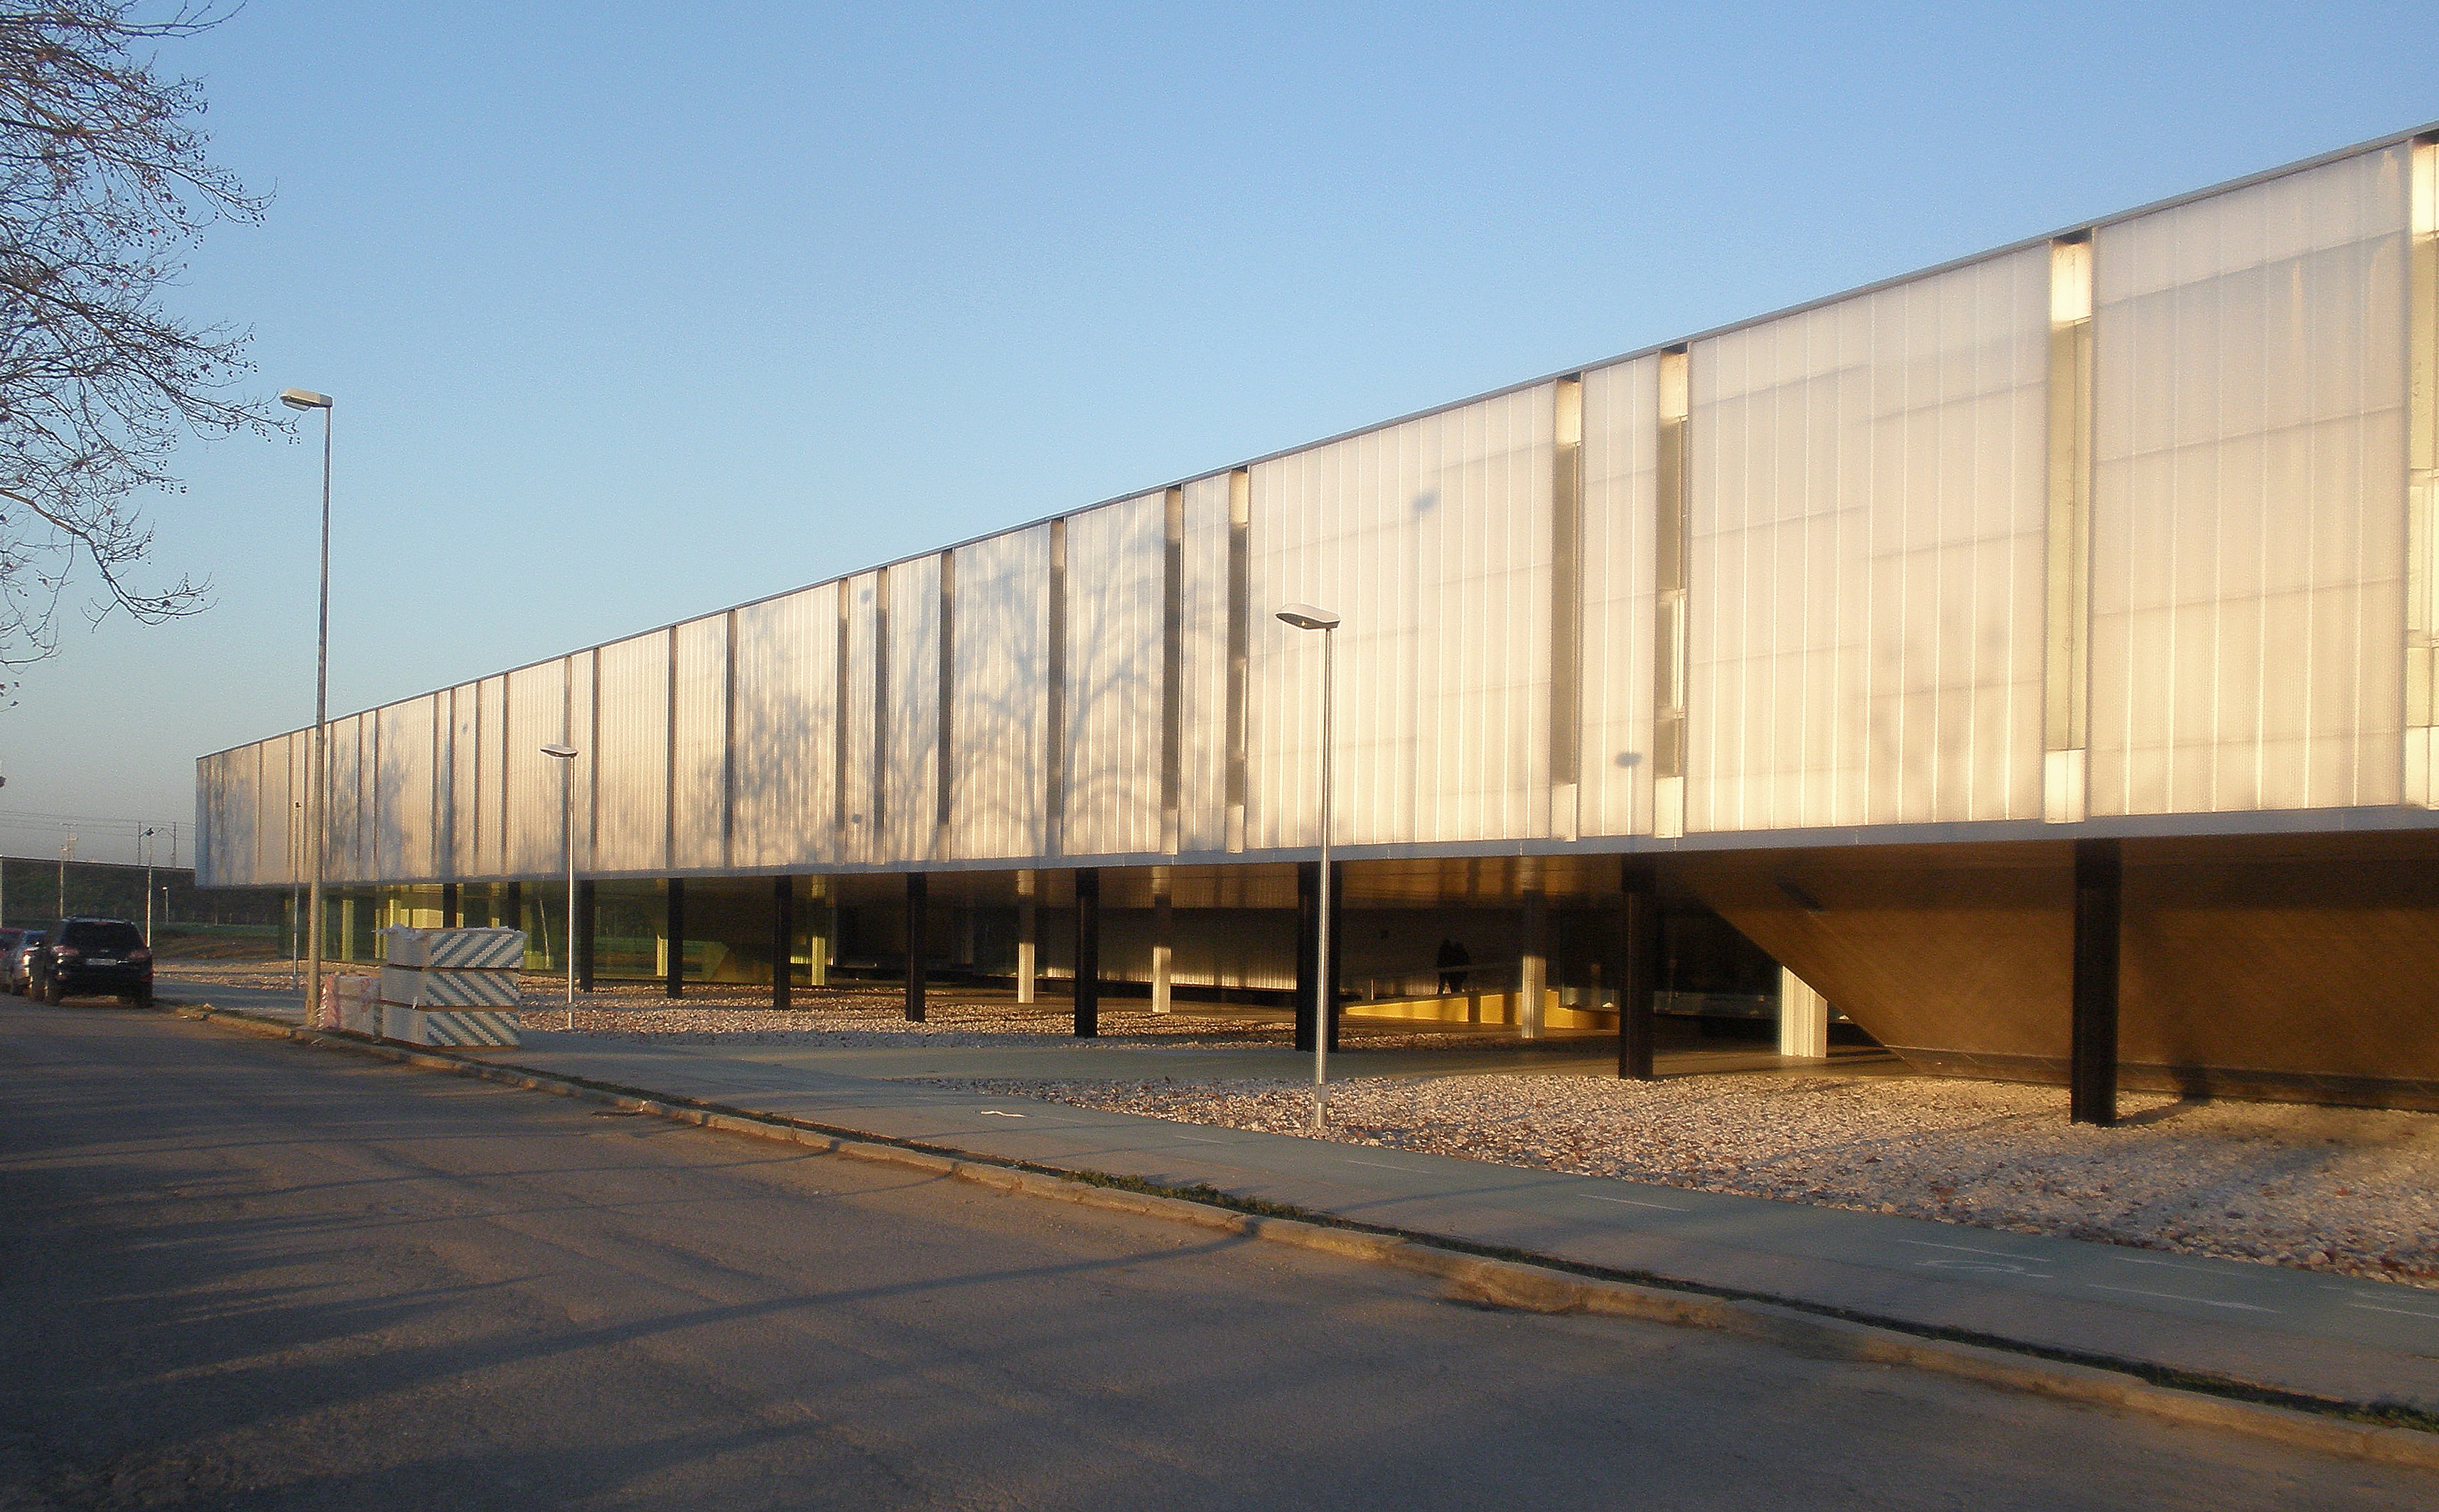
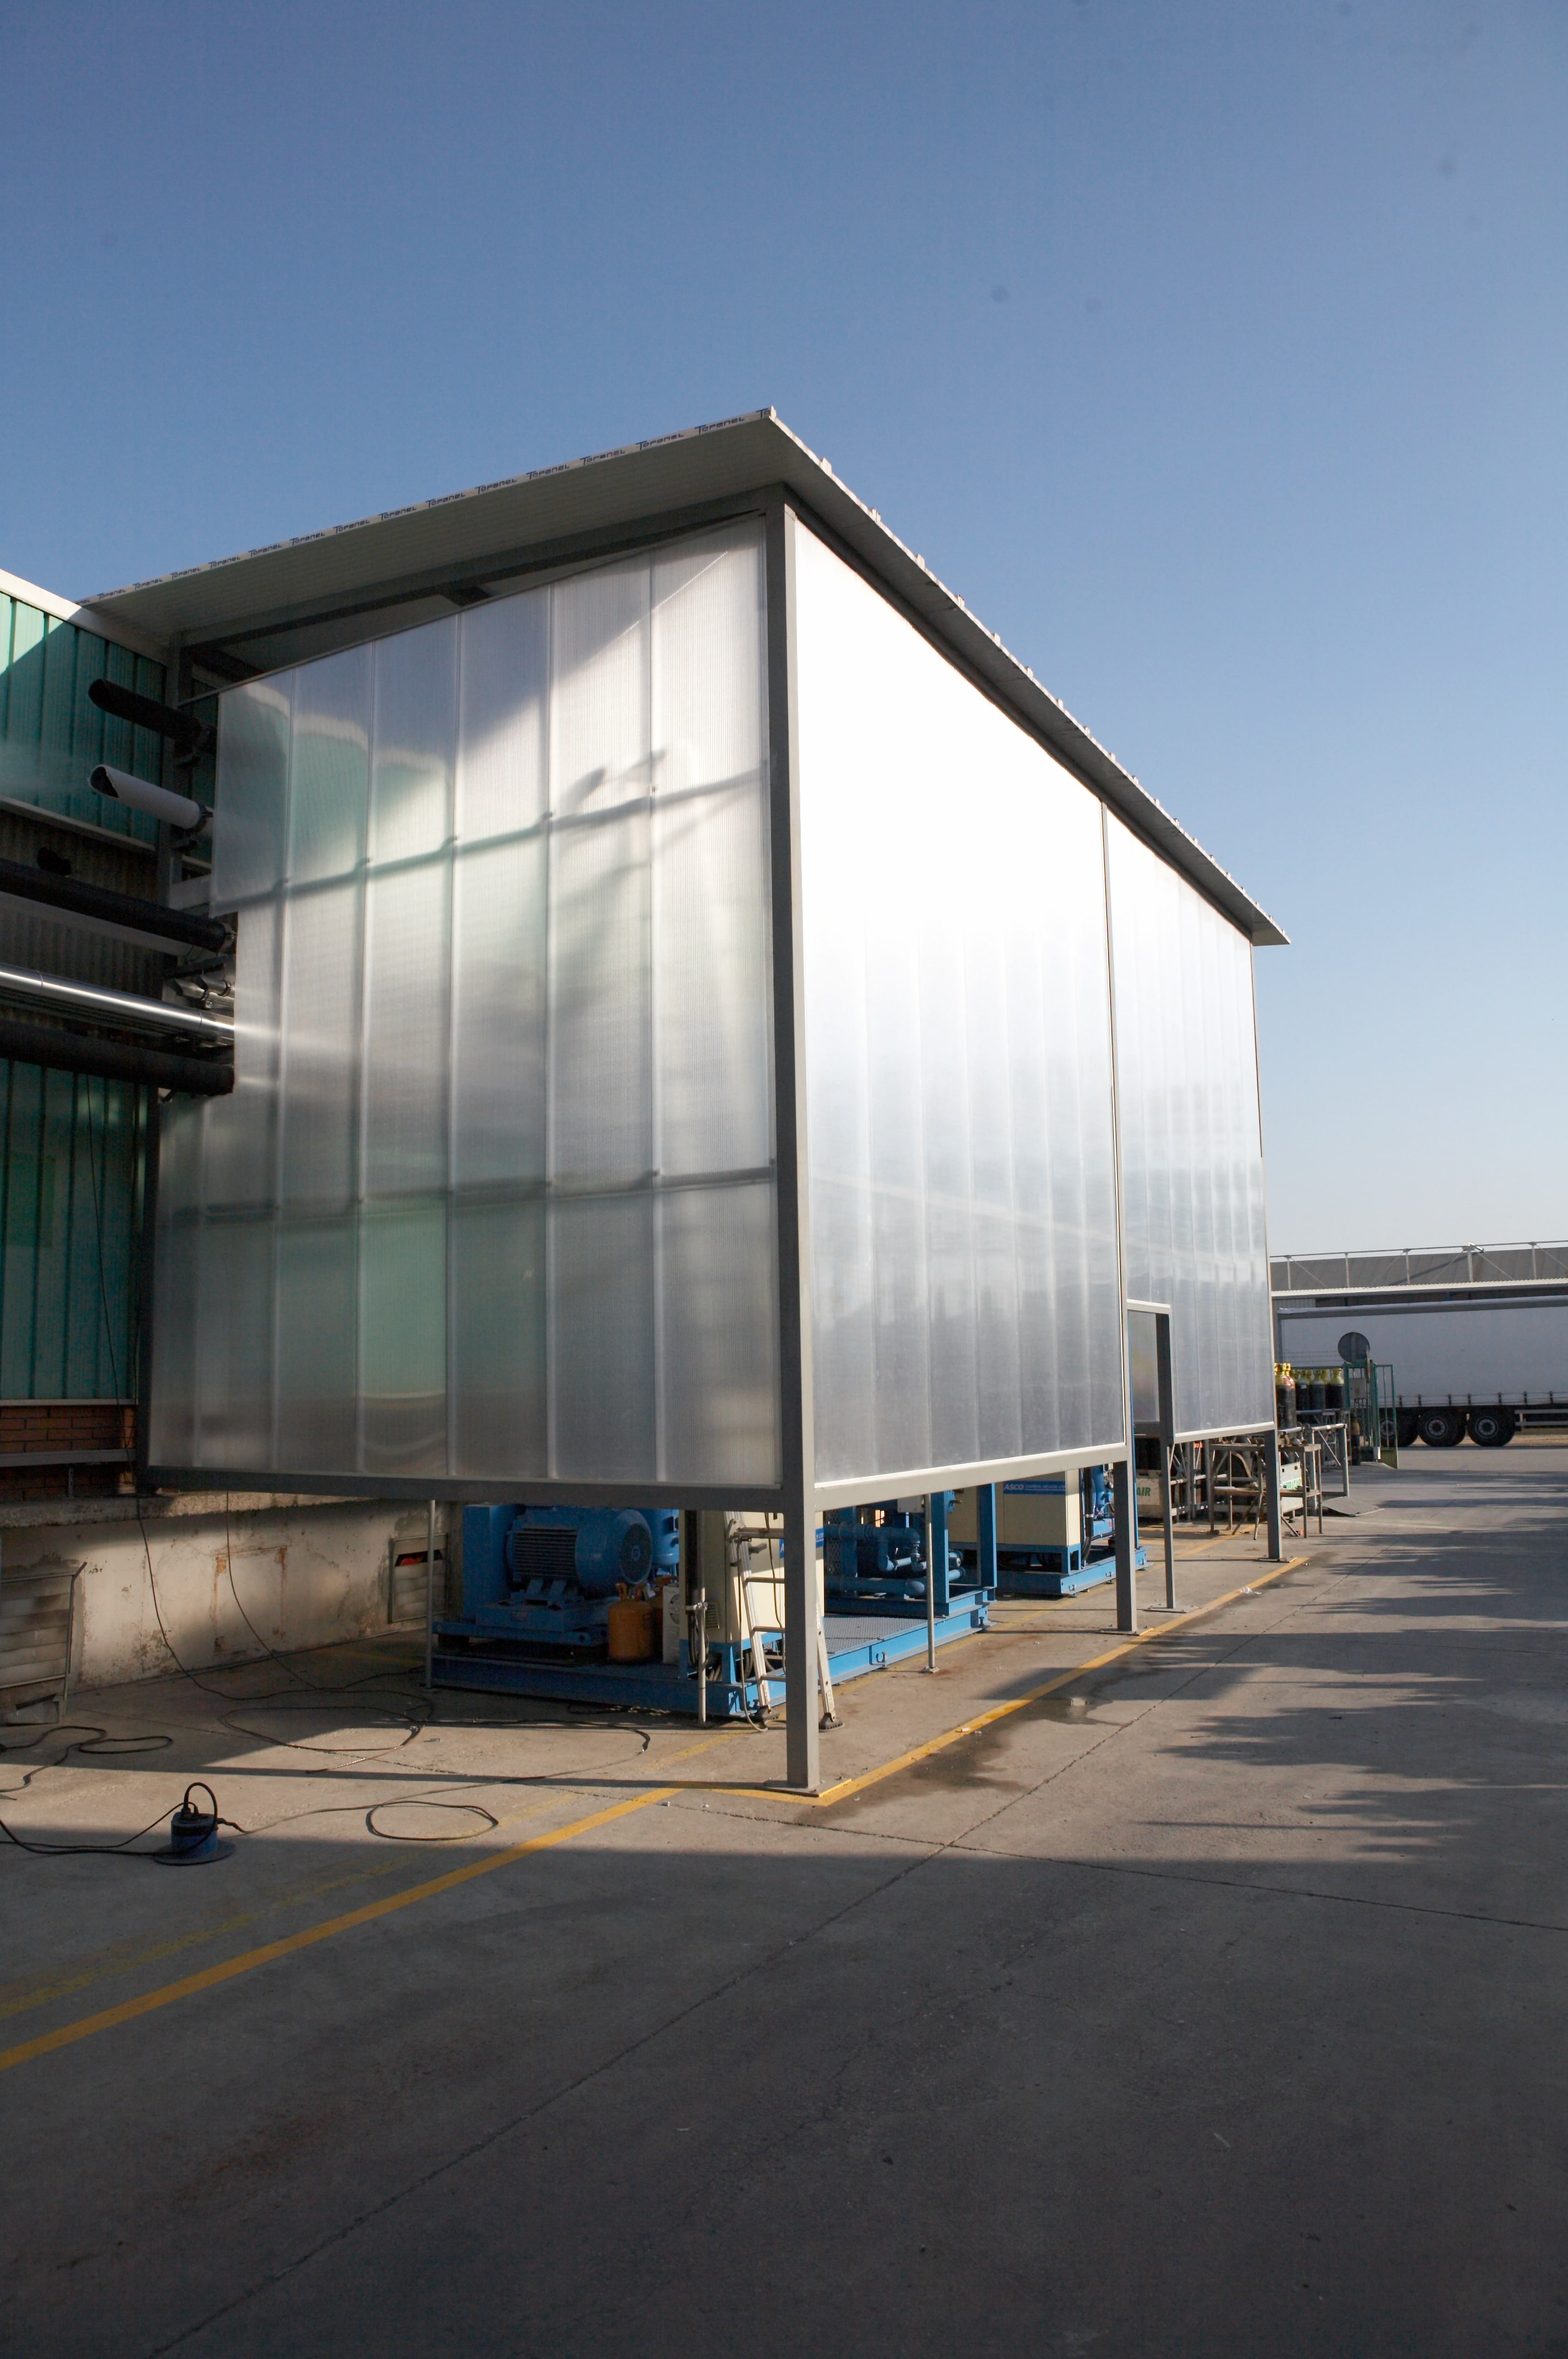
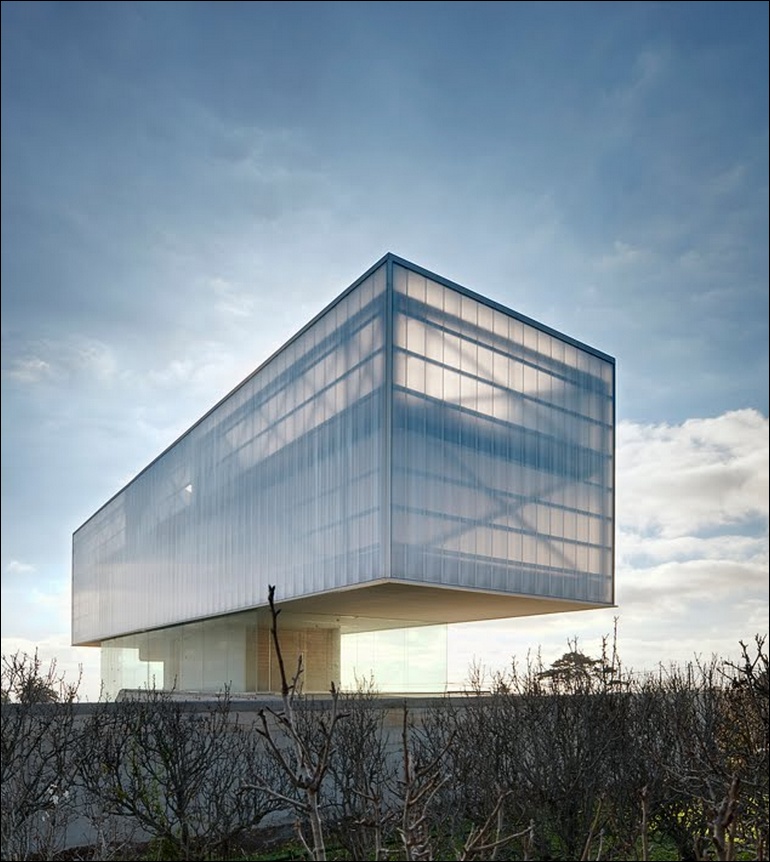
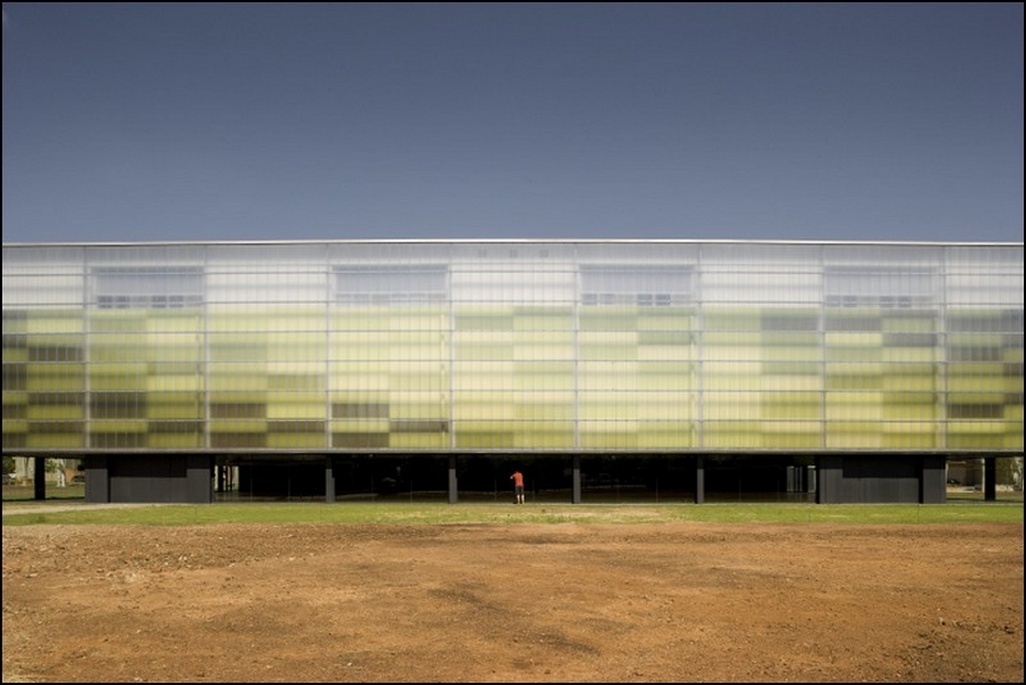
Cellular Polycarbonate - Modular Systems
Easy assembly of polycarbonate systems

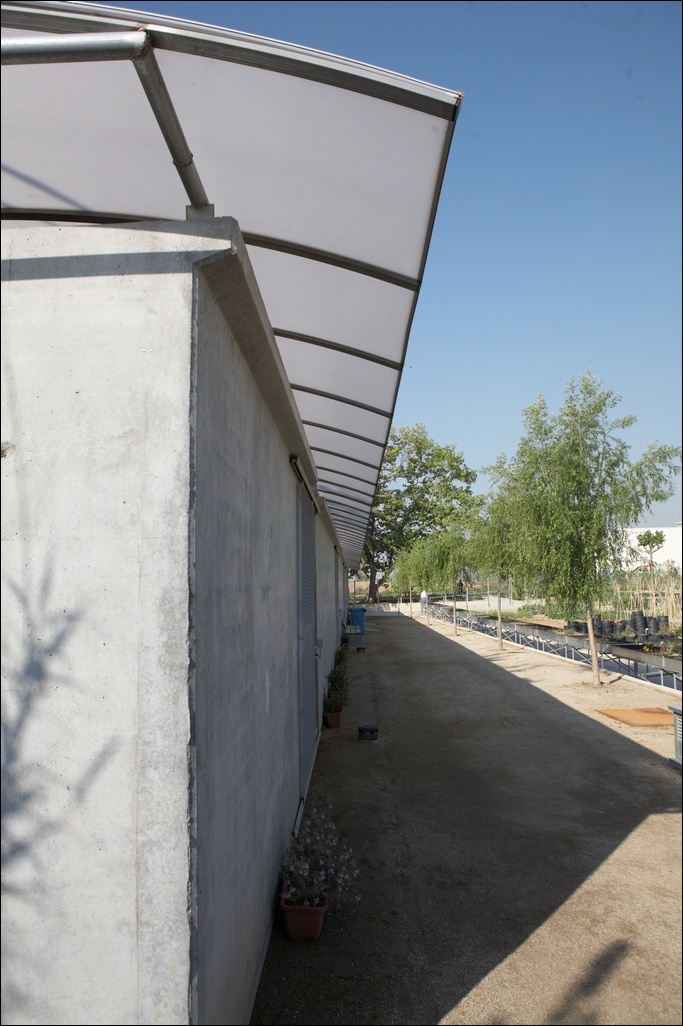
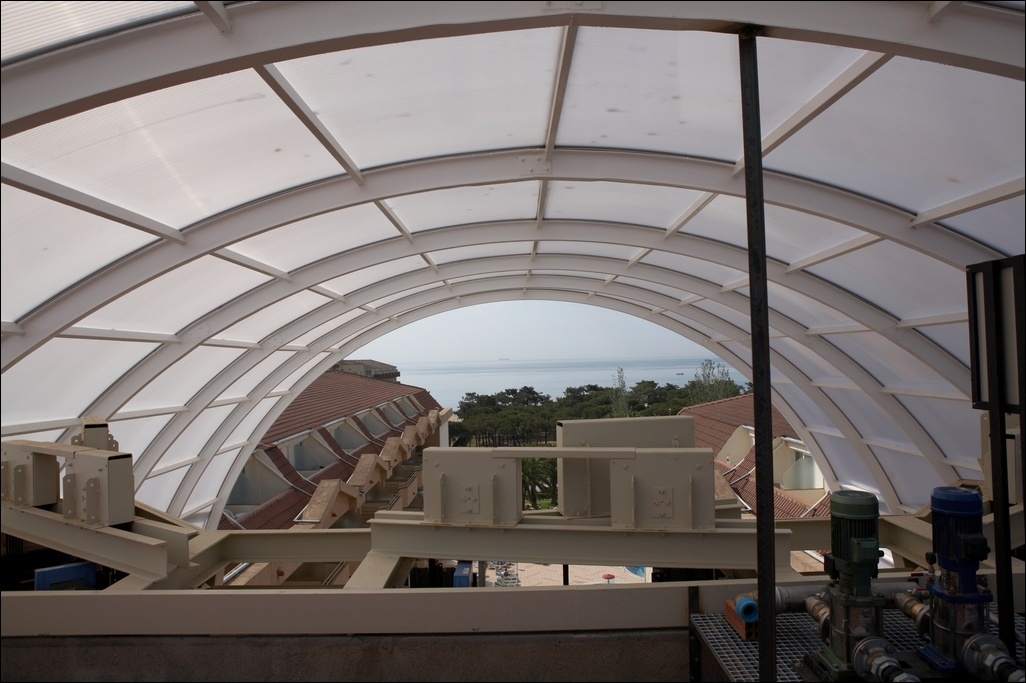
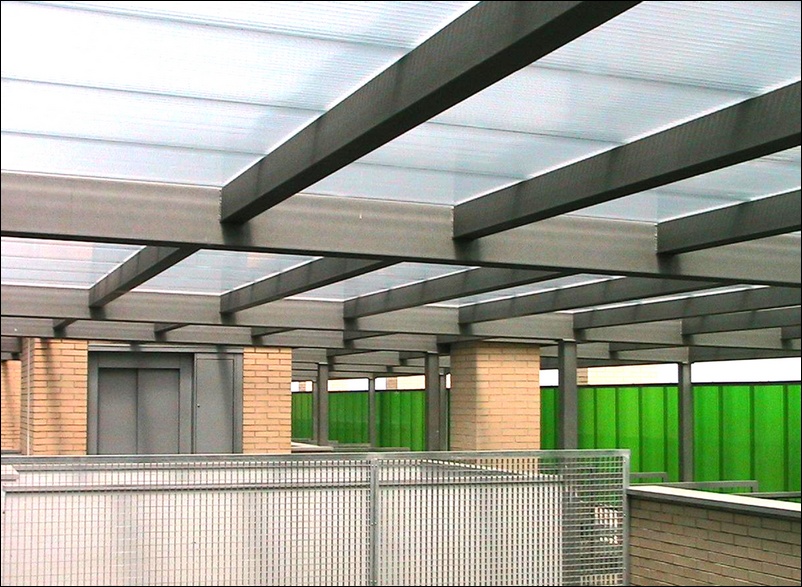
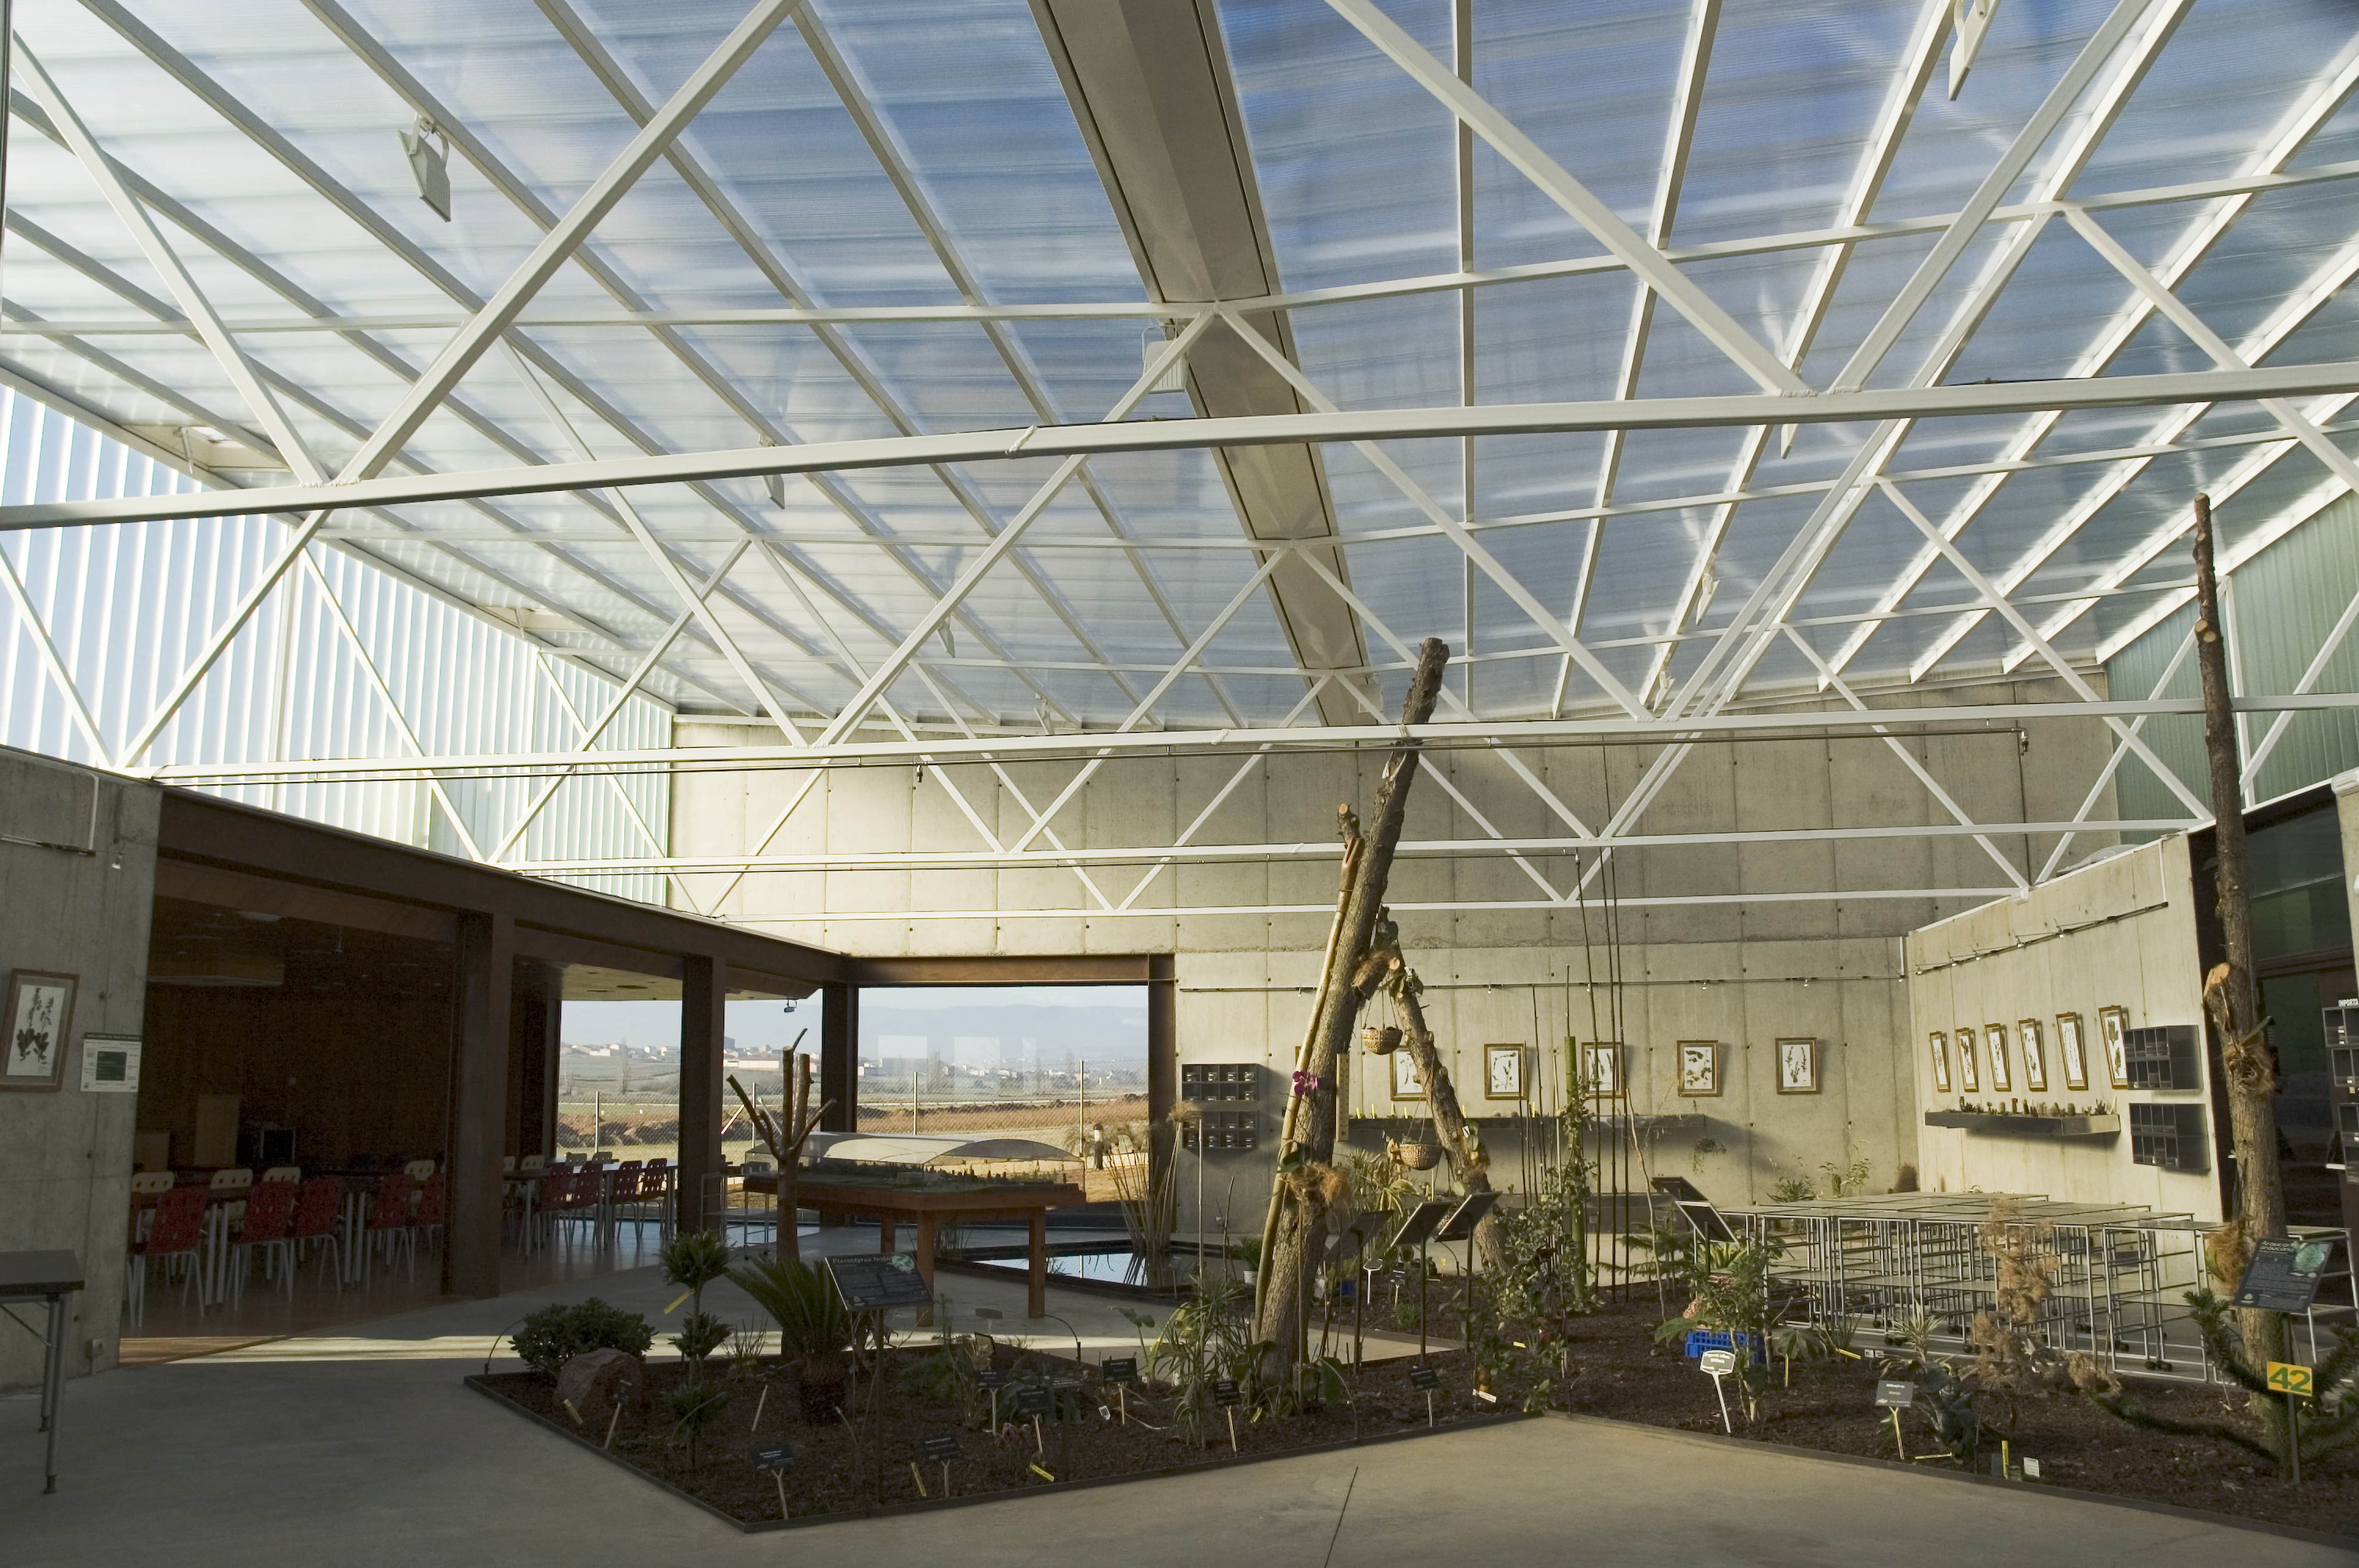
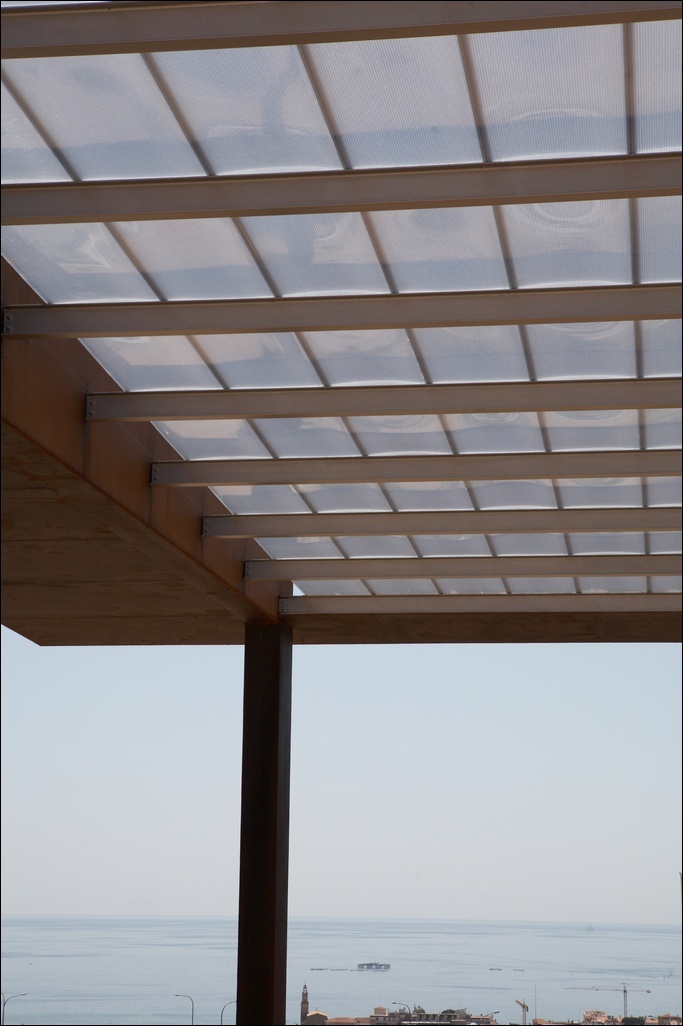
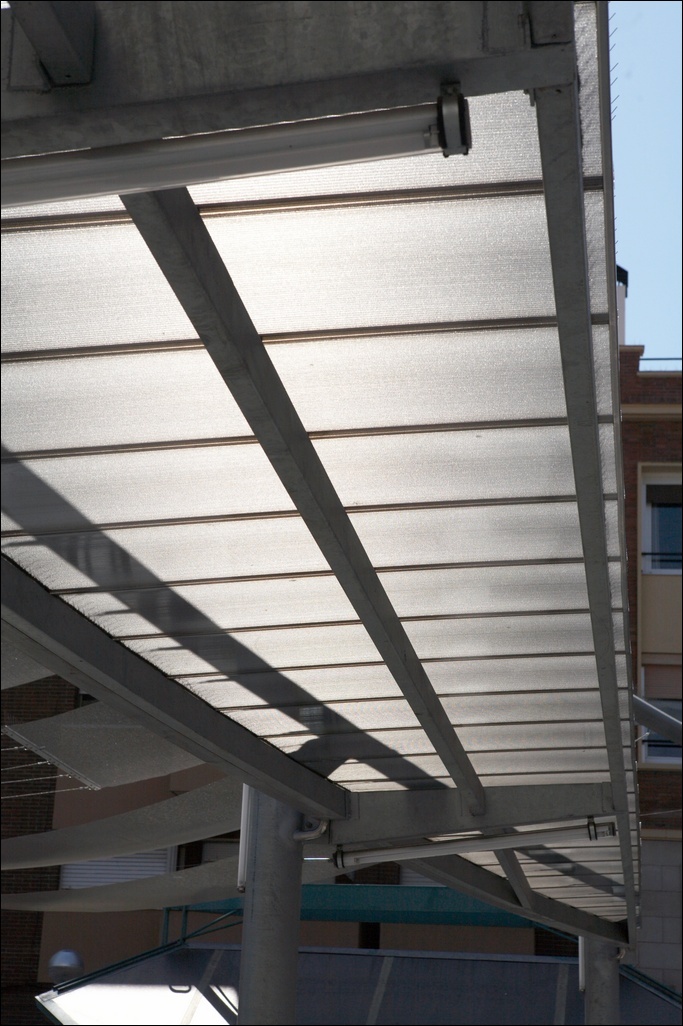
Among the many advantages of using cellular polycarbonate systems, their ease and speed of assembly stand out. The panels can be supplied cut to whatever length you want and taped together, this saves us time and money, since there is no shrinkage, nor is there extra work involved in cutting. Below is a small and simple description of the assembly procedure:
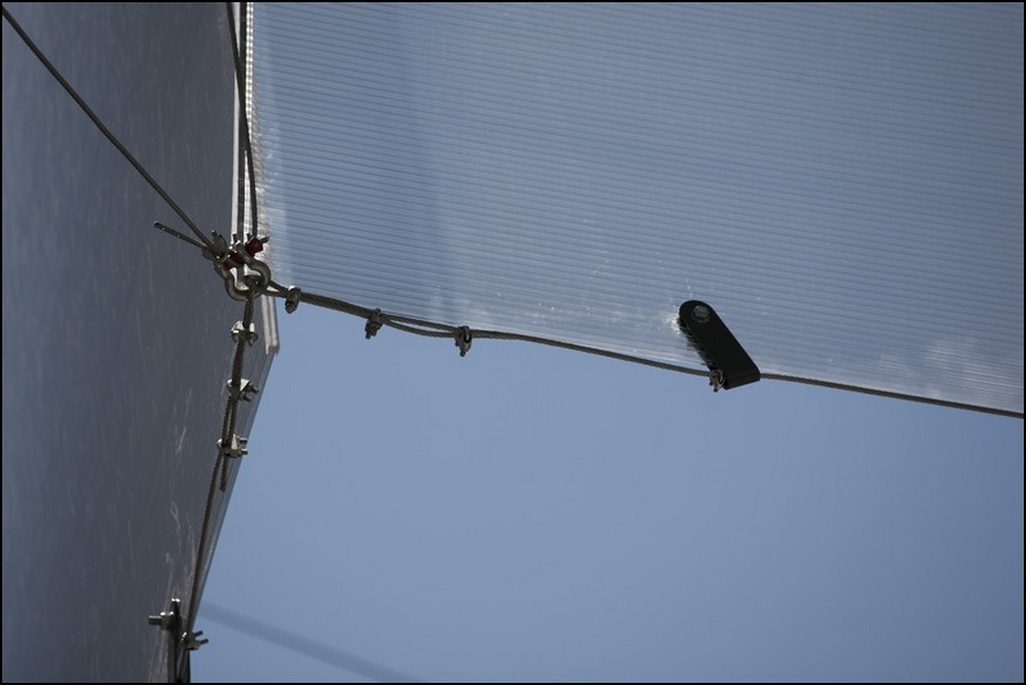
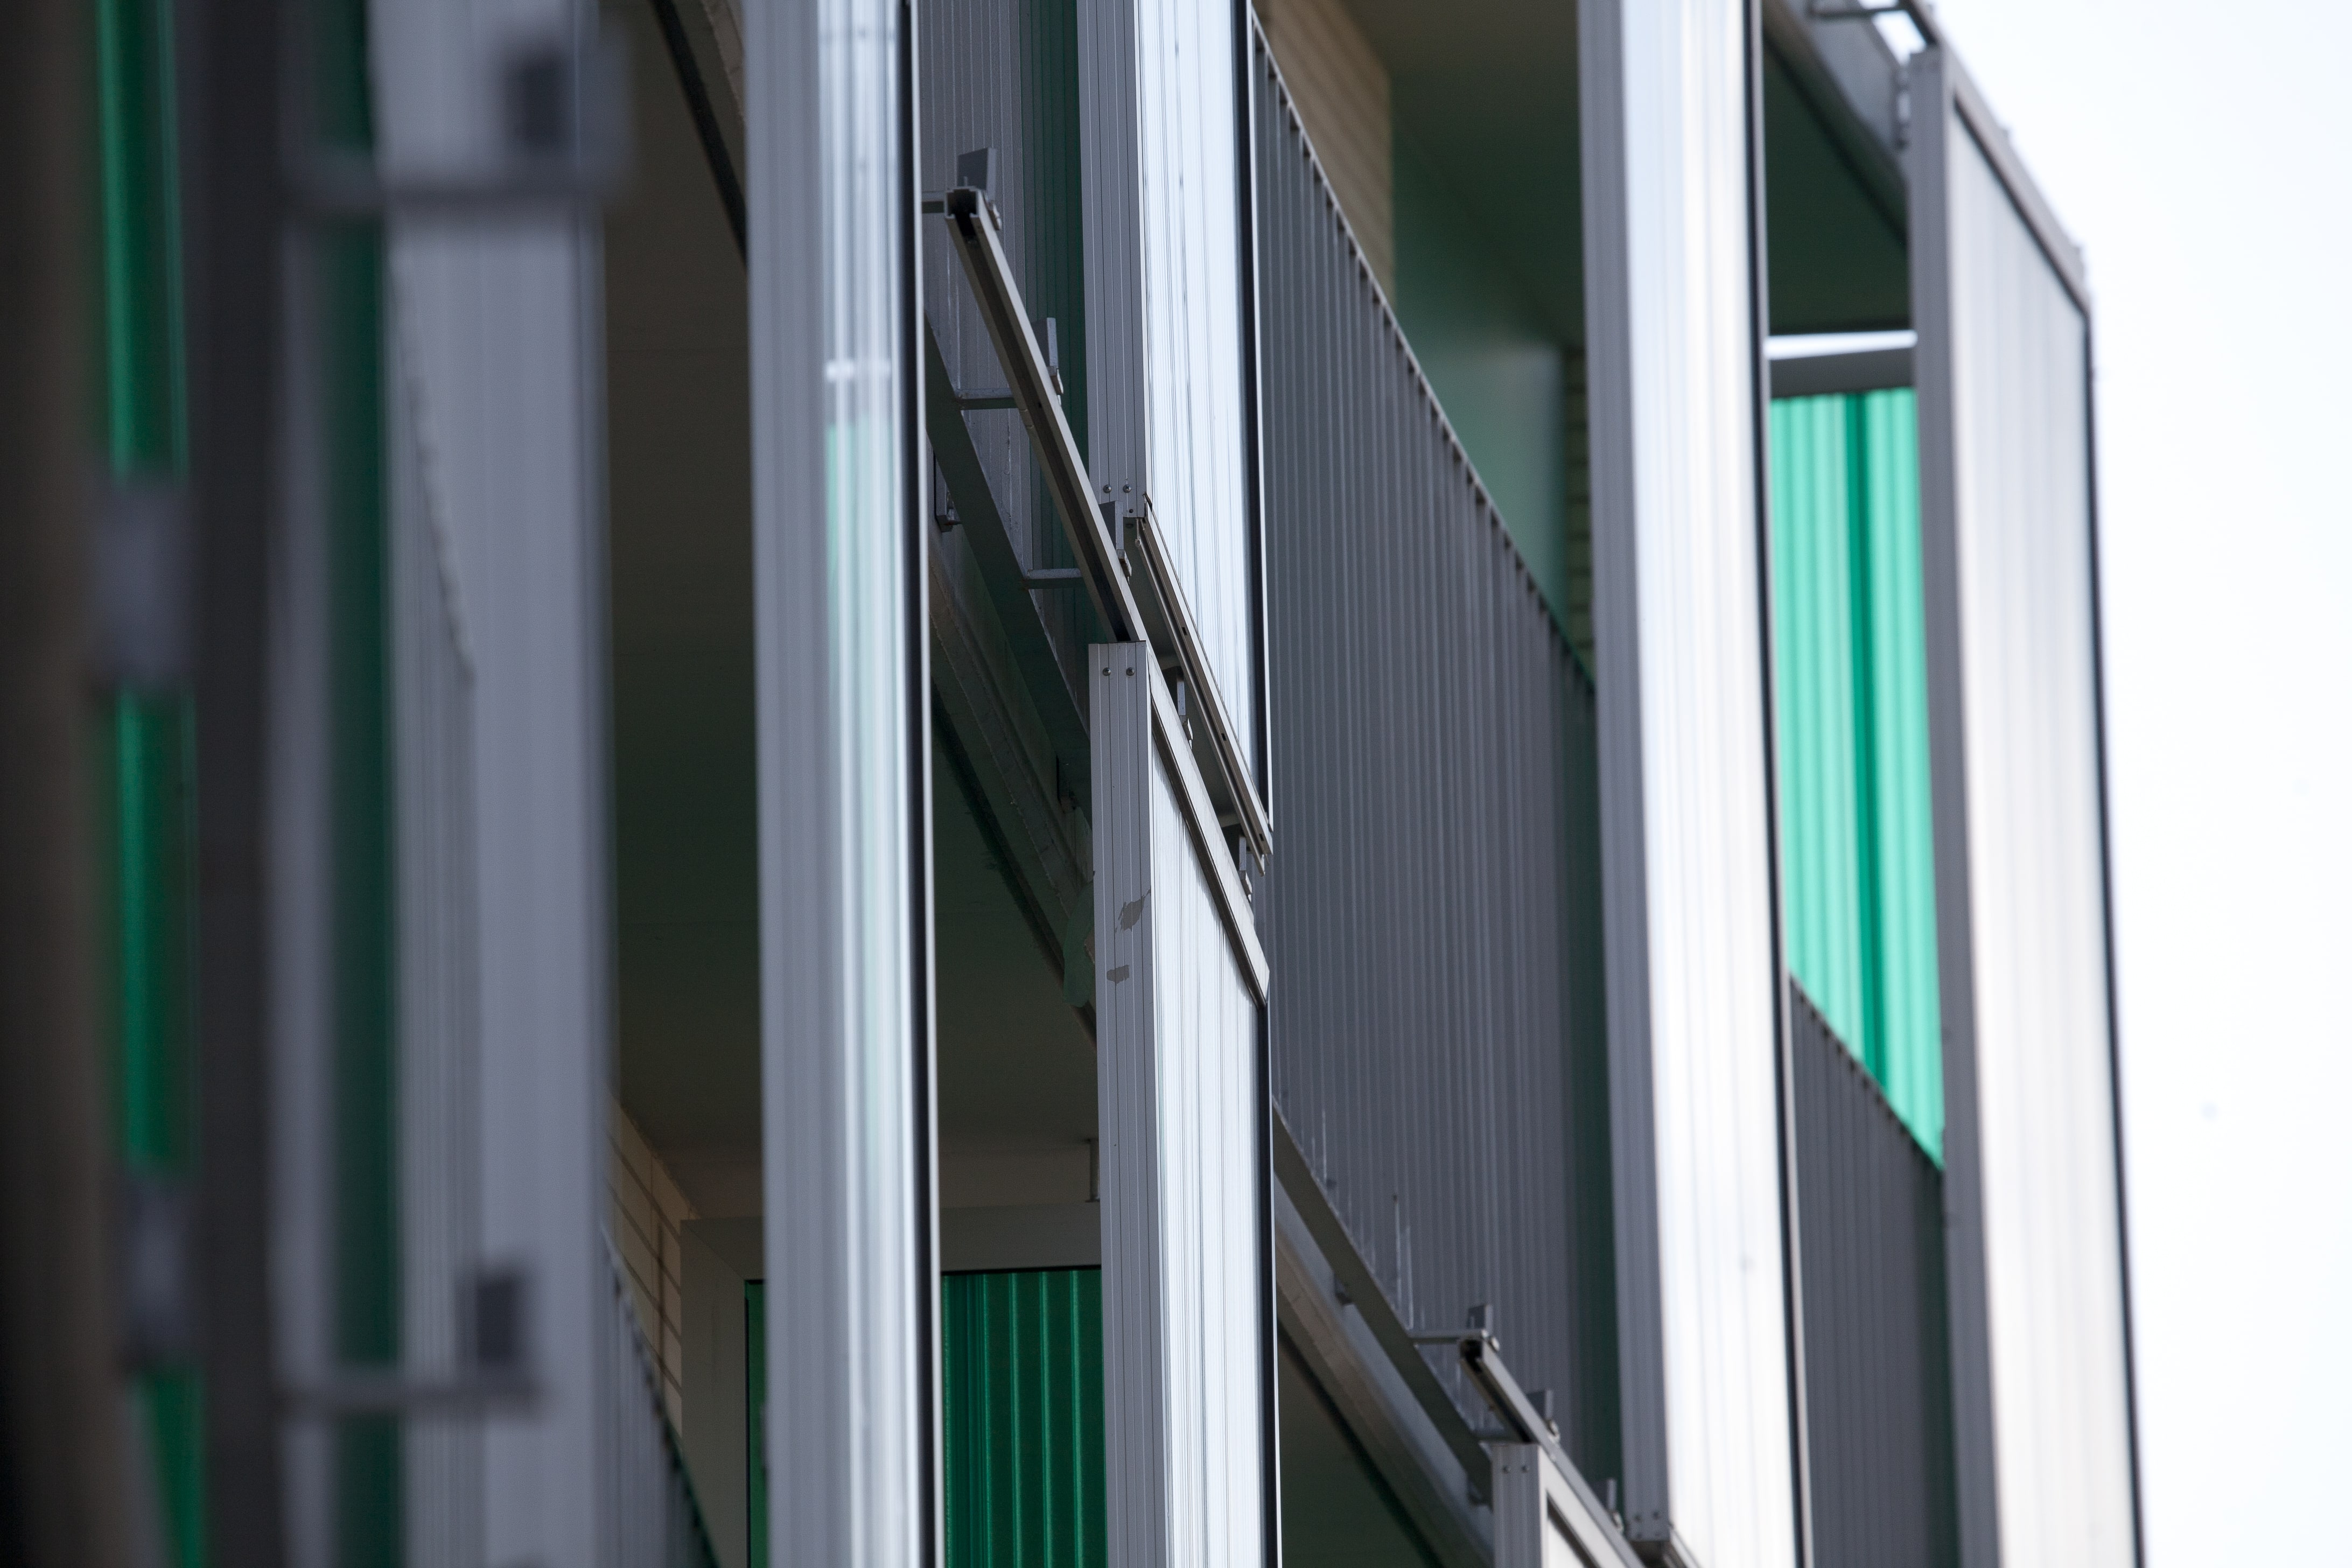
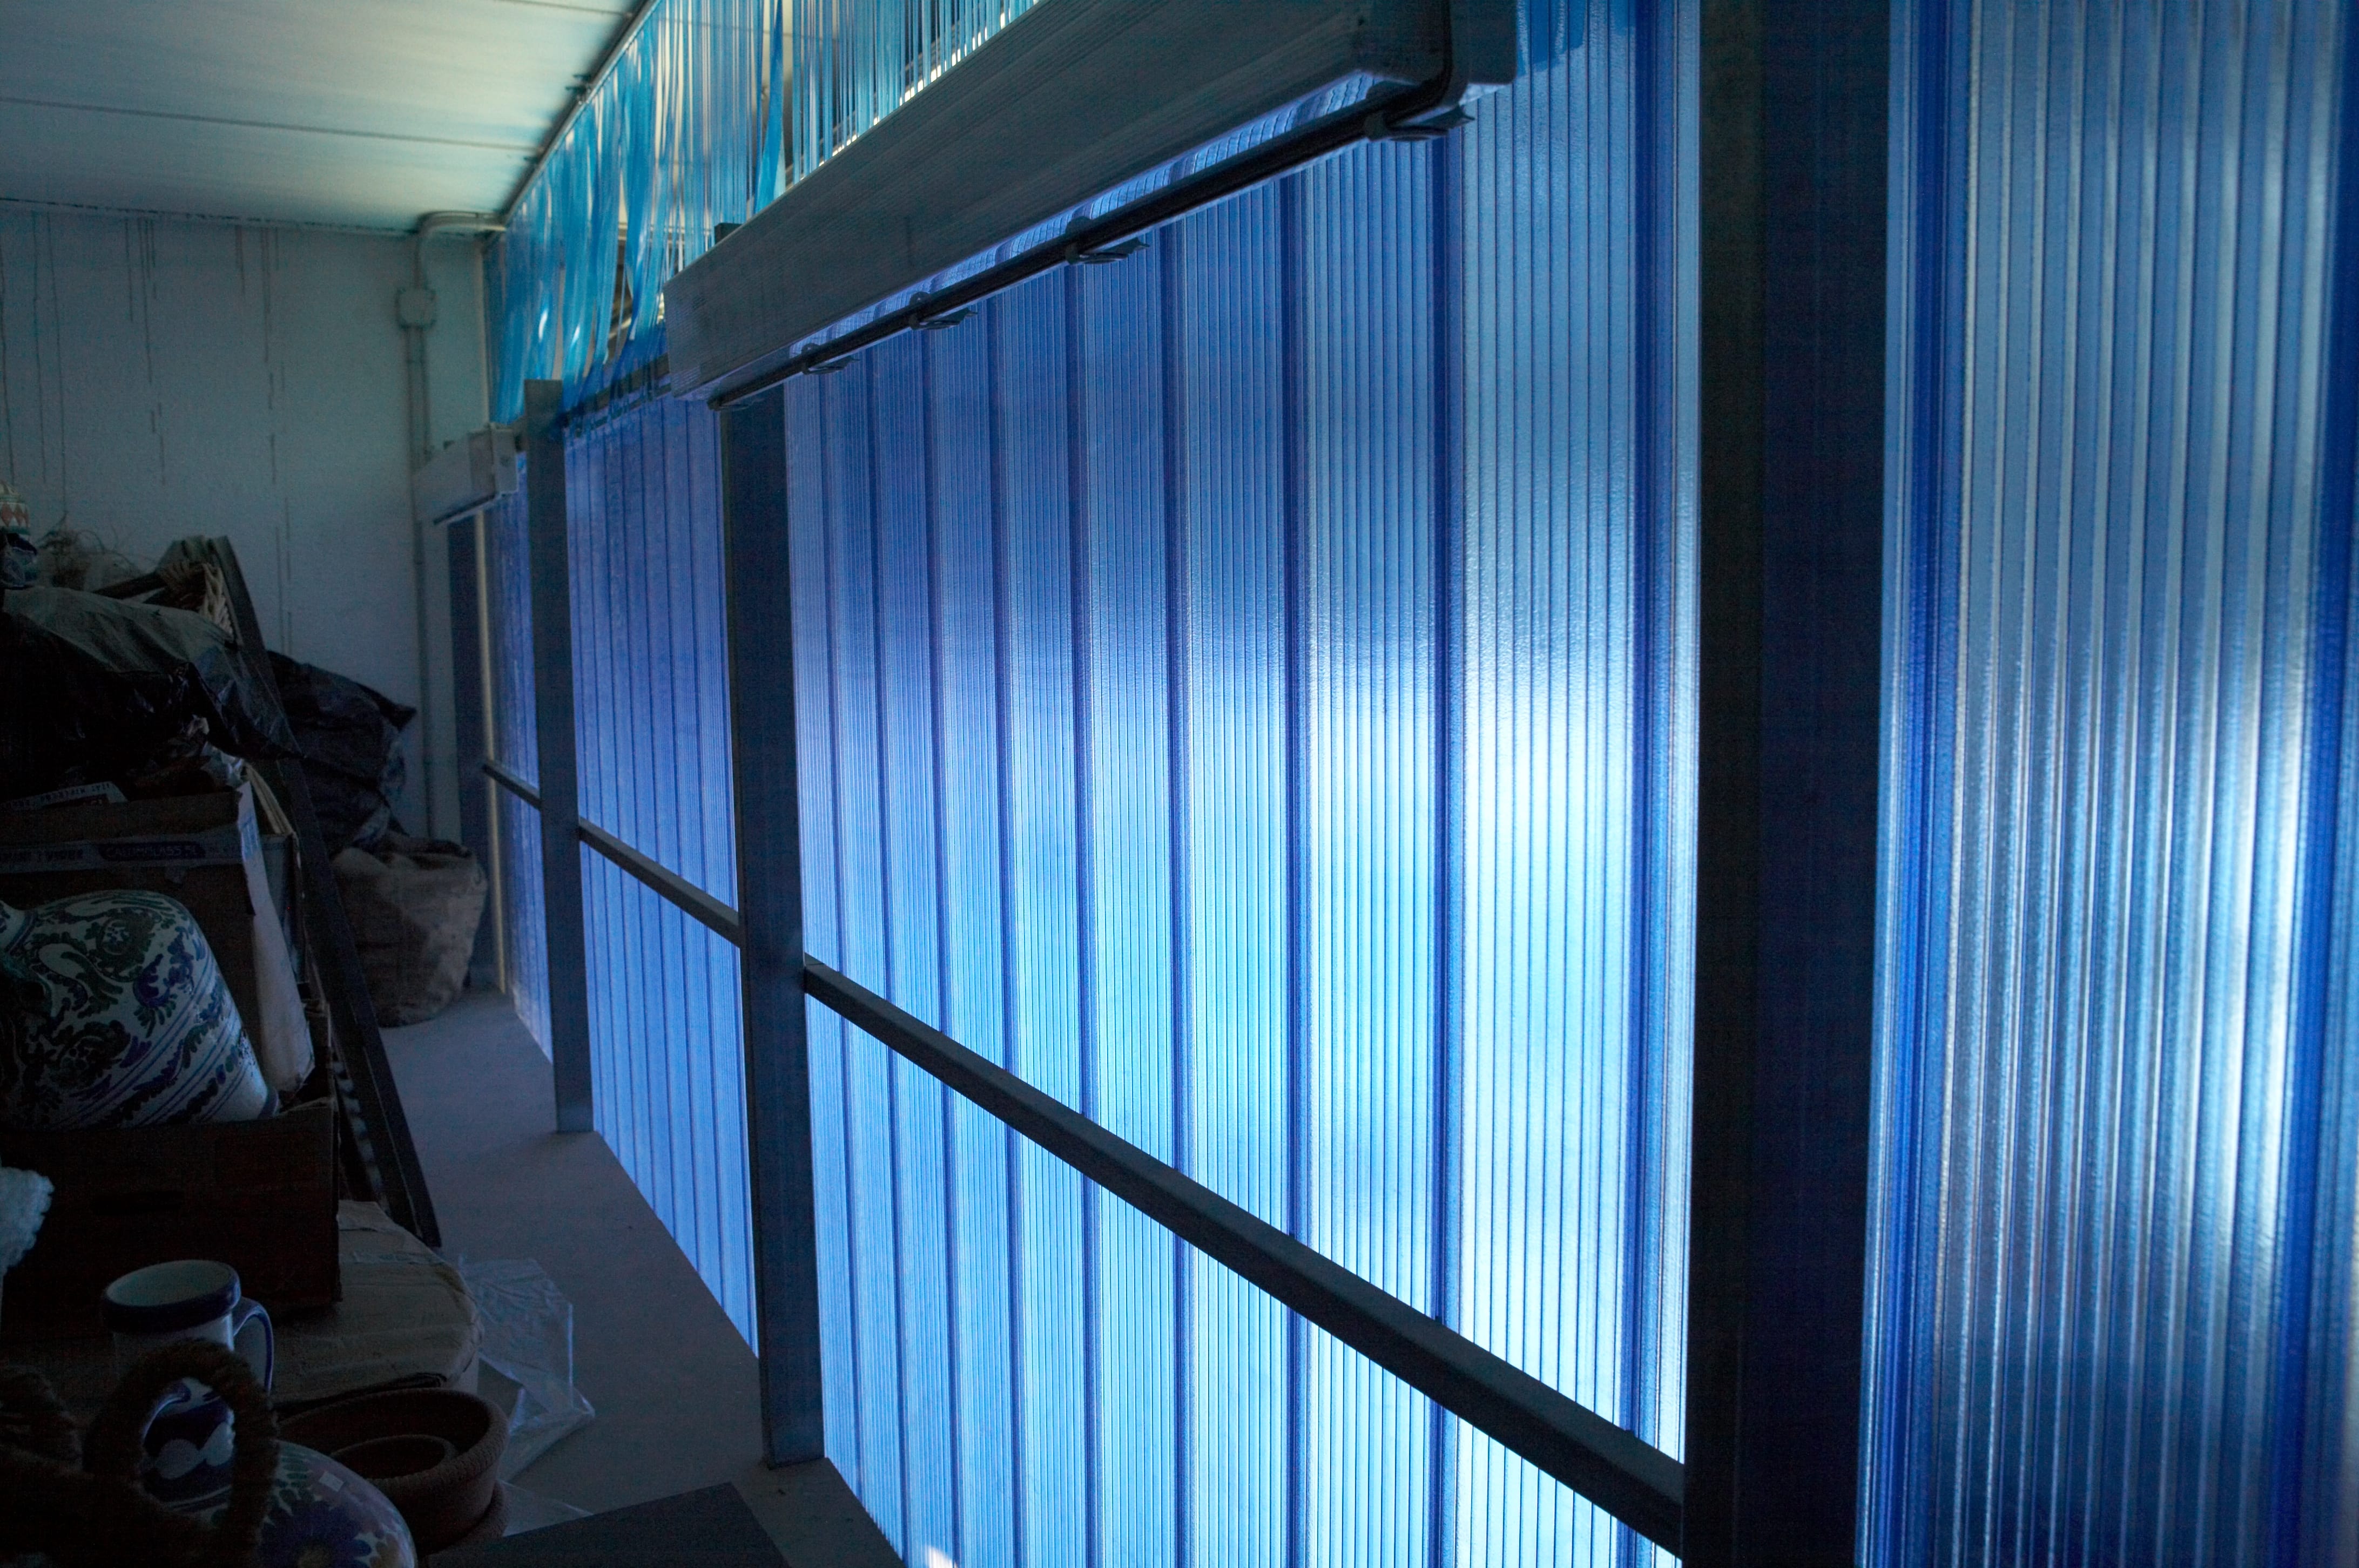
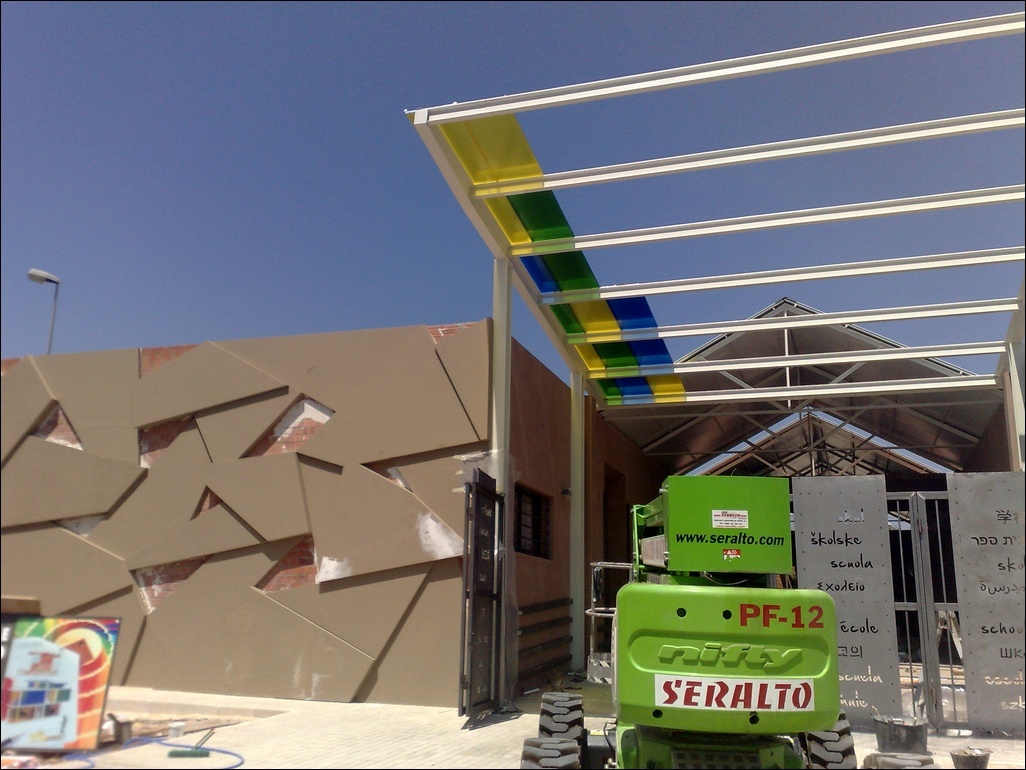
Initially, the profiles are mounted perimetrically, like a frame, starting with the lower ones and interspersed with the wick or sealing gasket, which will ensure proper operation in the face of expansions, alignment of the system and prevent leaks. It is important that at the joints between lower, side and upper profiles we ensure optimal sealing.
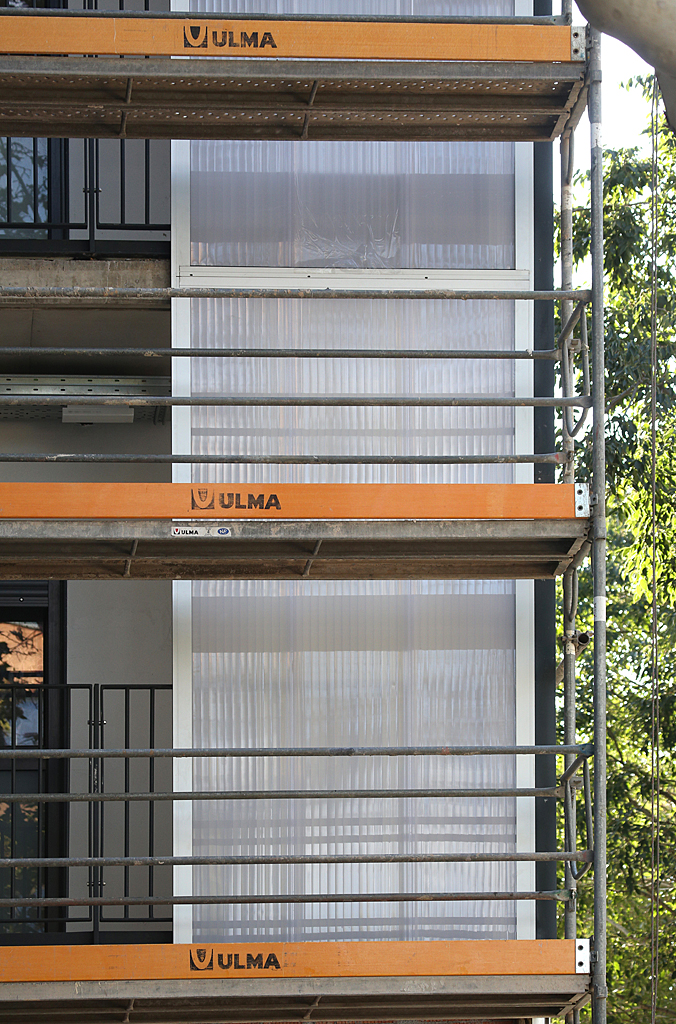
Once the frame has been built, in the absence of closing the side profile on the left of the installation, we will place, under pressure, on all the profiles, the inner perimeter gasket or rubber. We recommend assembling our panels, from left to right, cutting out the male of the first panel, which would be inside the lateral profile on the left and leaving enough space for the panels to expand. We will place the first panel inside the upper profile and lower it until it is inserted into the lower profile and so on, clipping each new panel with the previous one. If the assembly must be carried out using the fixing clips, these must be fixed to the supporting metal substructure, using screws (never with rivets), at each of the points where the panel crosses the strap.
We will repeat this procedure by fixing and taping the panels one after the other until the installation is complete. Before installing the last panel, we will cut the panel if necessary and assemble the side profile, sandwiching an element between the outside and the inside, like a shoe, which will help us to insert the last panel into the final lateral profile.
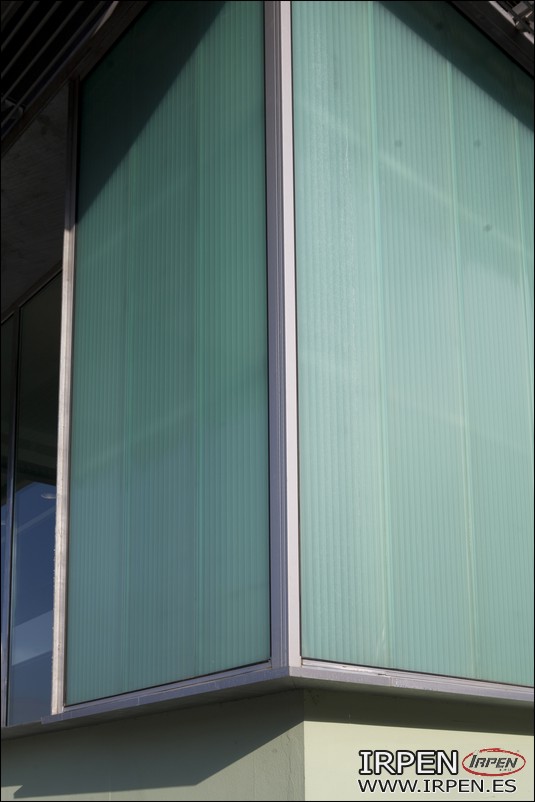
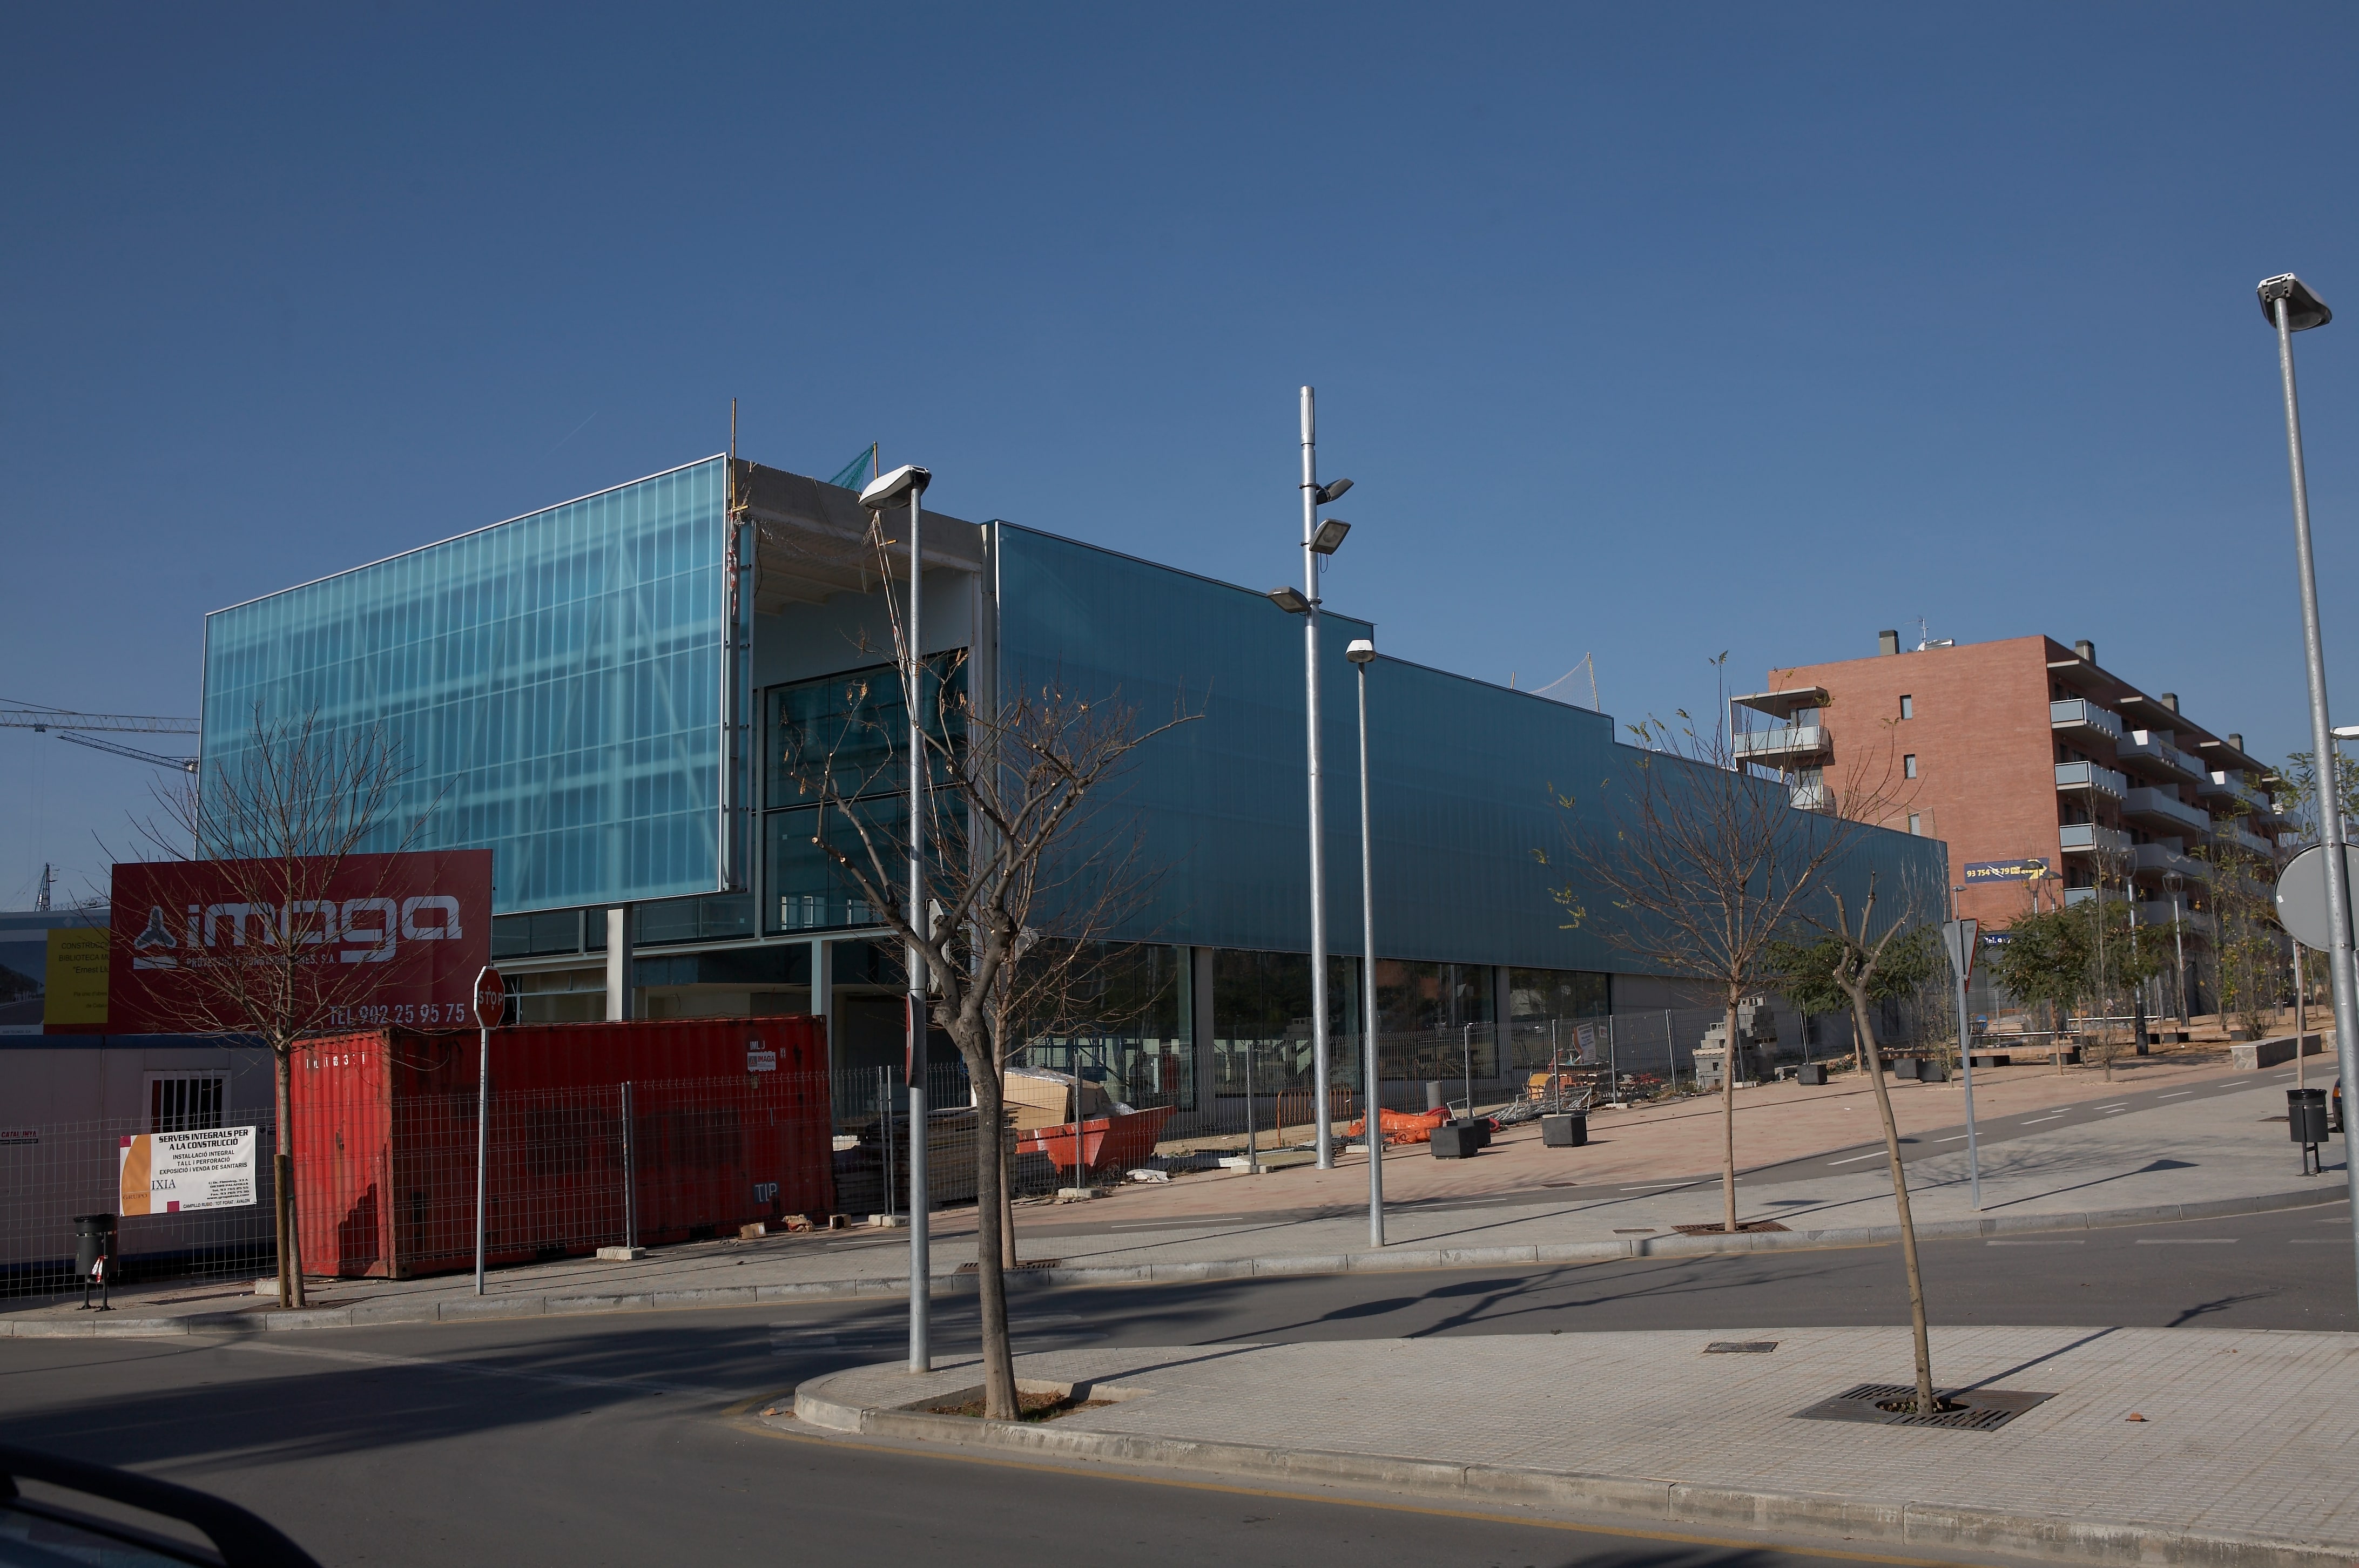
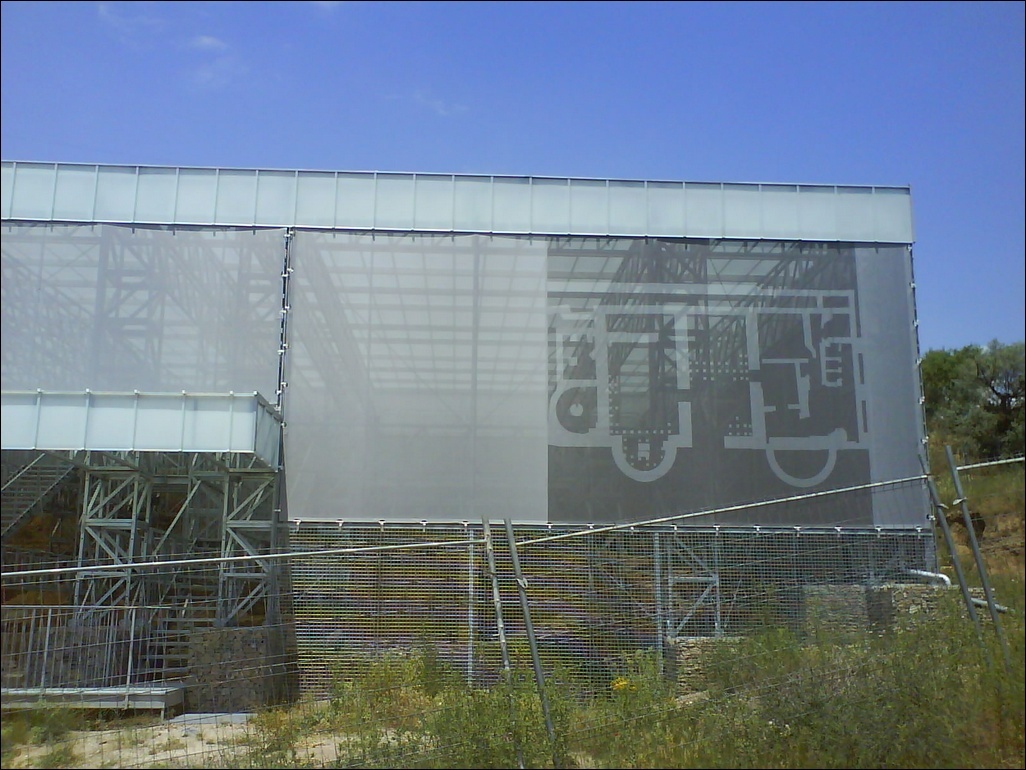
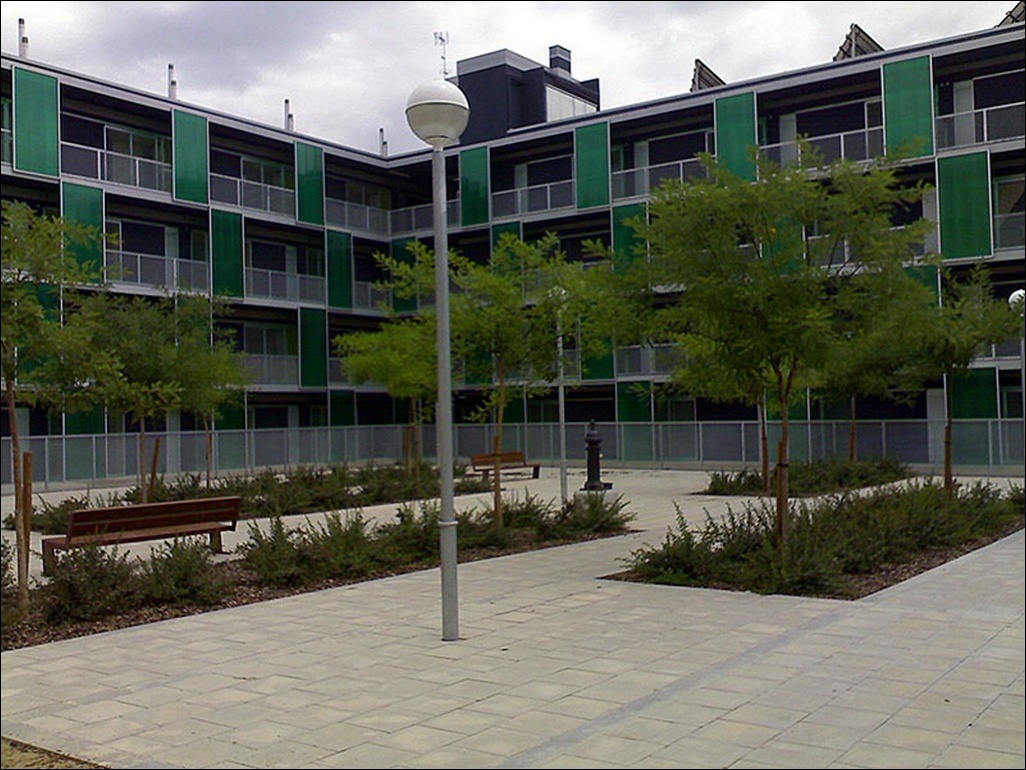
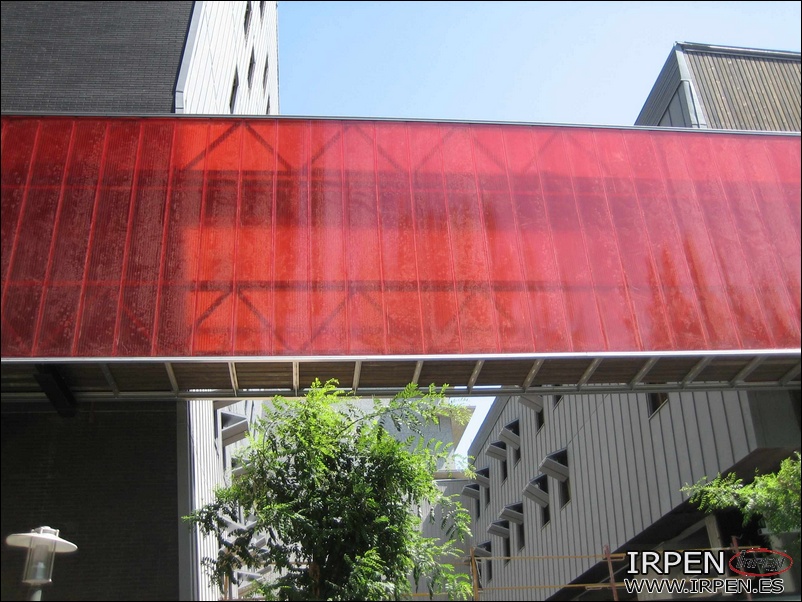
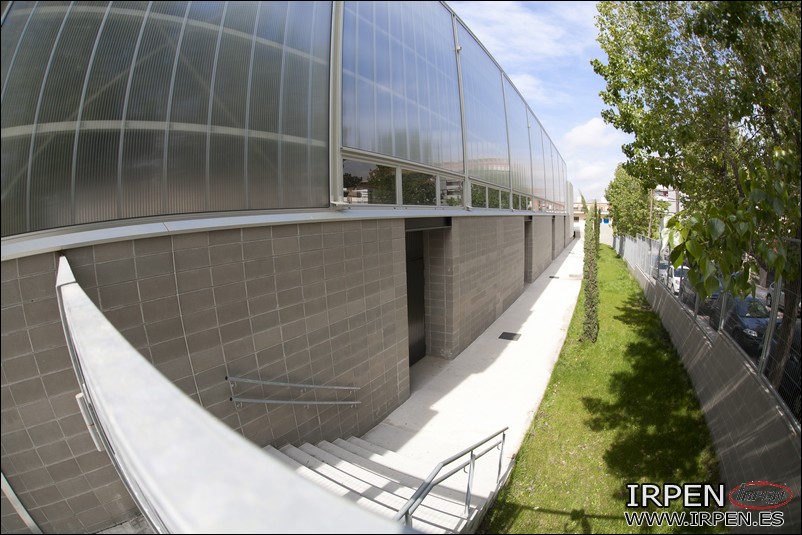
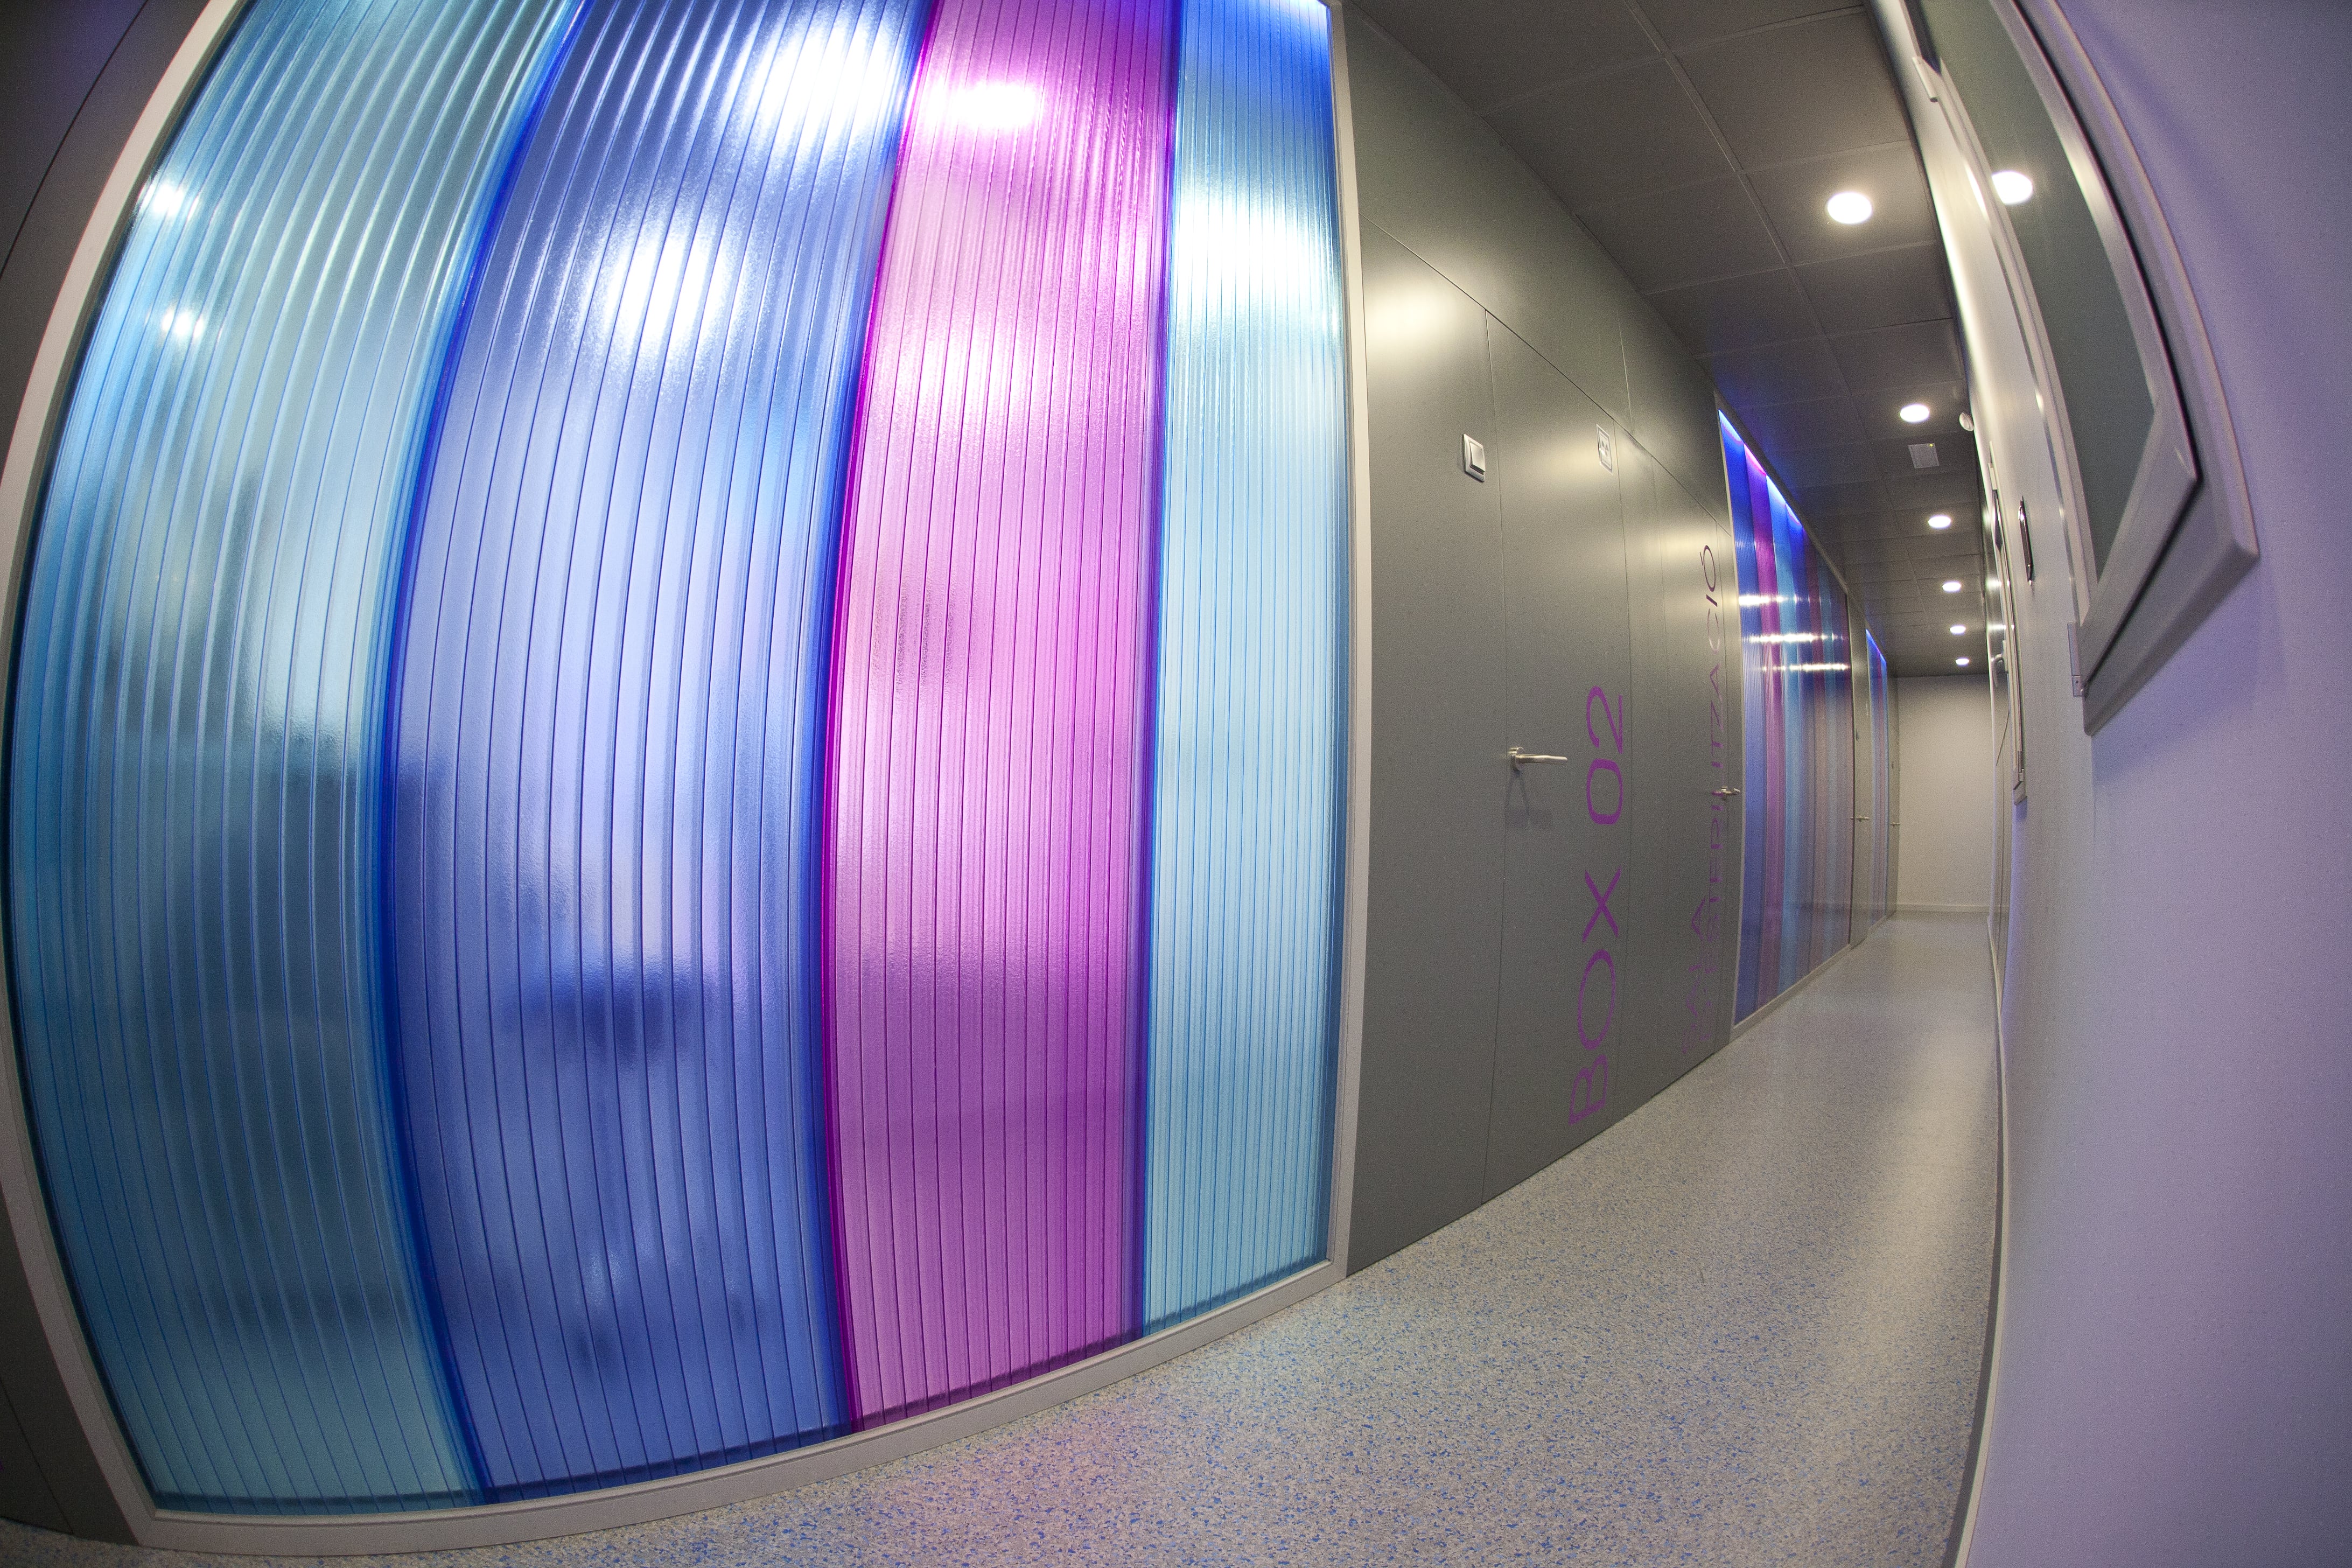
Finally, we will proceed to install, under pressure, the outer perimeter gasket or rubber on the aluminum frame, concluding the installation and obtaining results like this.


.jpg)